Marketing campaign planning
Careful planning is the cornerstone of any marketing campaign.
Assigning tasks and deadlines, collaborating on content, allocating budget – Nuclino can help your marketing team stay on top of all the campaigns and projects, making sure nothing falls through the cracks.
Here's how you can easily set up your marketing project planner in Nuclino.
Step 1: Create a workspace
Let's start by creating a separate workspace for your team's marketing campaigns.
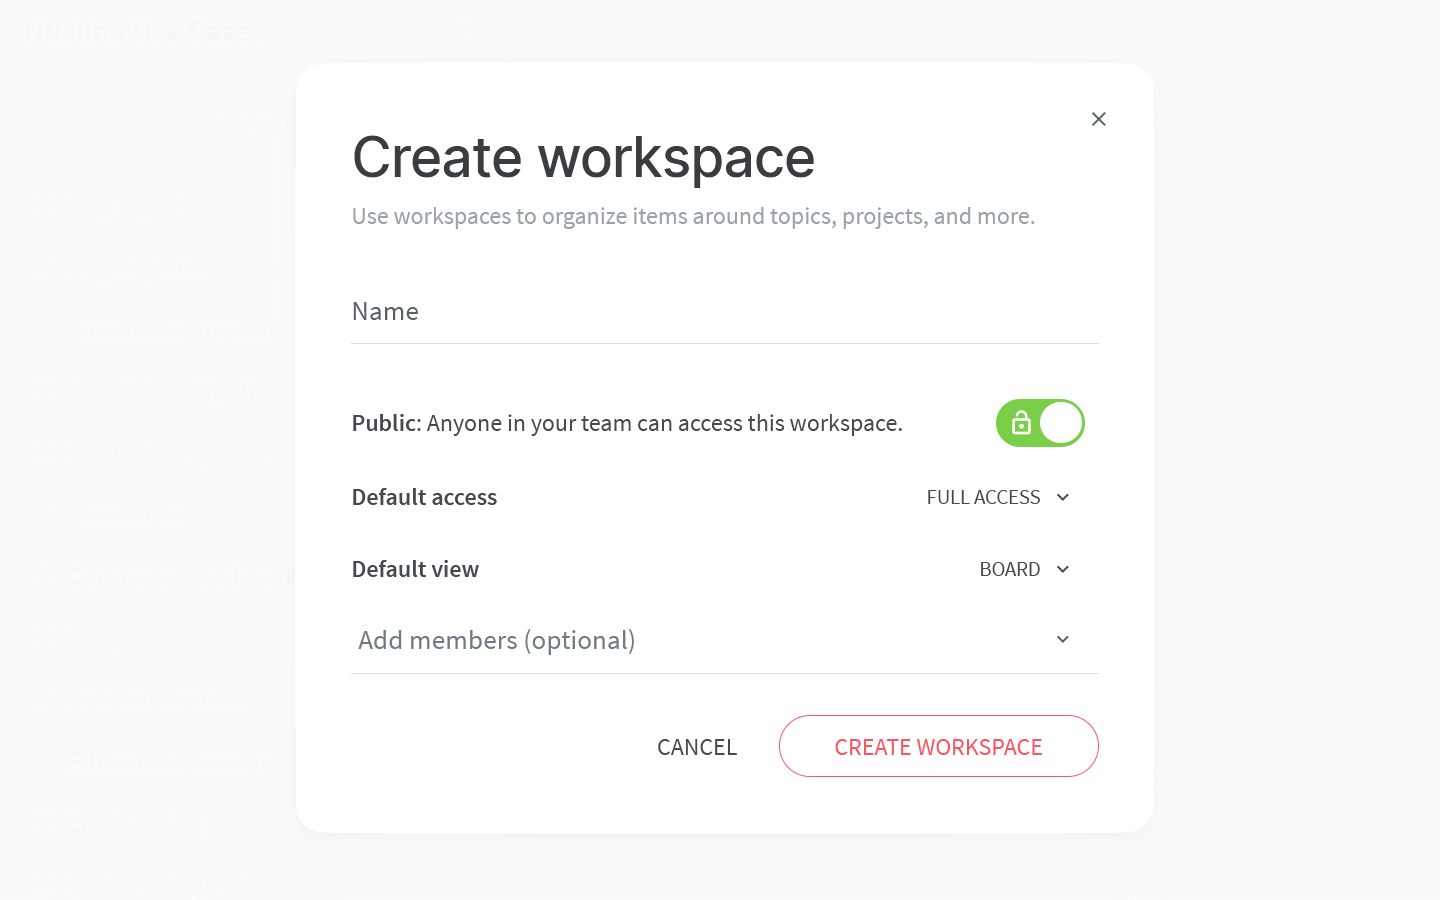
To set up your workspace, you will need to configure:
The default view of your workspace.
You have the choice between the list, board, table, and graph views. The board view is a great choice since it lets you visualize different stages of each project. Don't worry, you can always change it later!
Privacy.
You can make your workspace public – visible and accessible to your whole team – or private, so that only you and invited members can see it. Since many marketing projects require input from other teams, in most cases, it's best to make this workspace public.
Access rights.
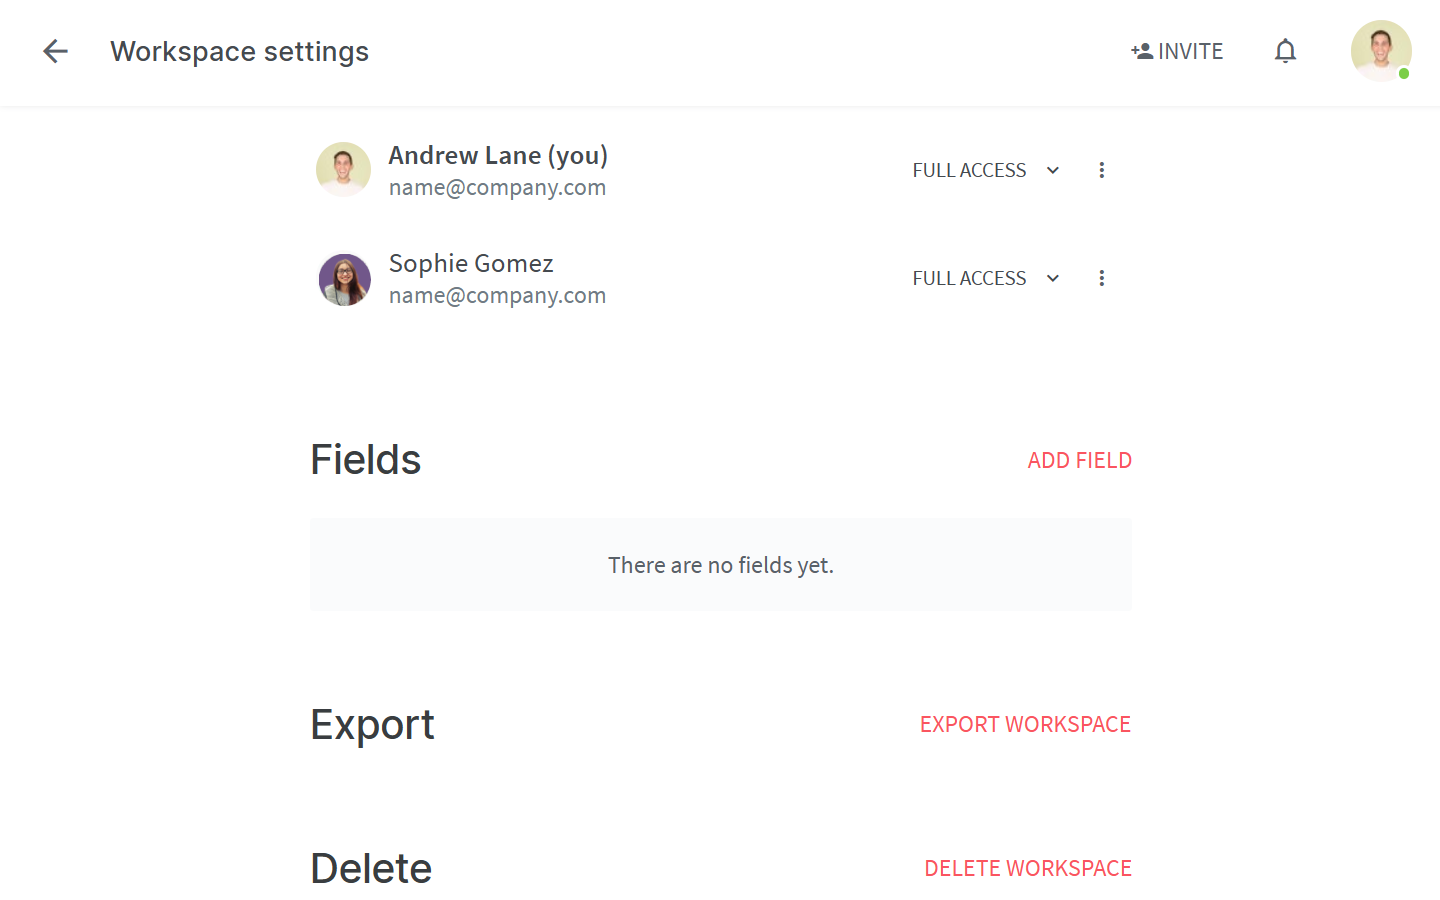
Campaign planning is all about collaboration – make the workspace full access and enable your workspace members to edit the content by default. If you want to give certain members comment-only or read-only rights, you can always do so in the workspace settings.
Step 2: Set up the structure
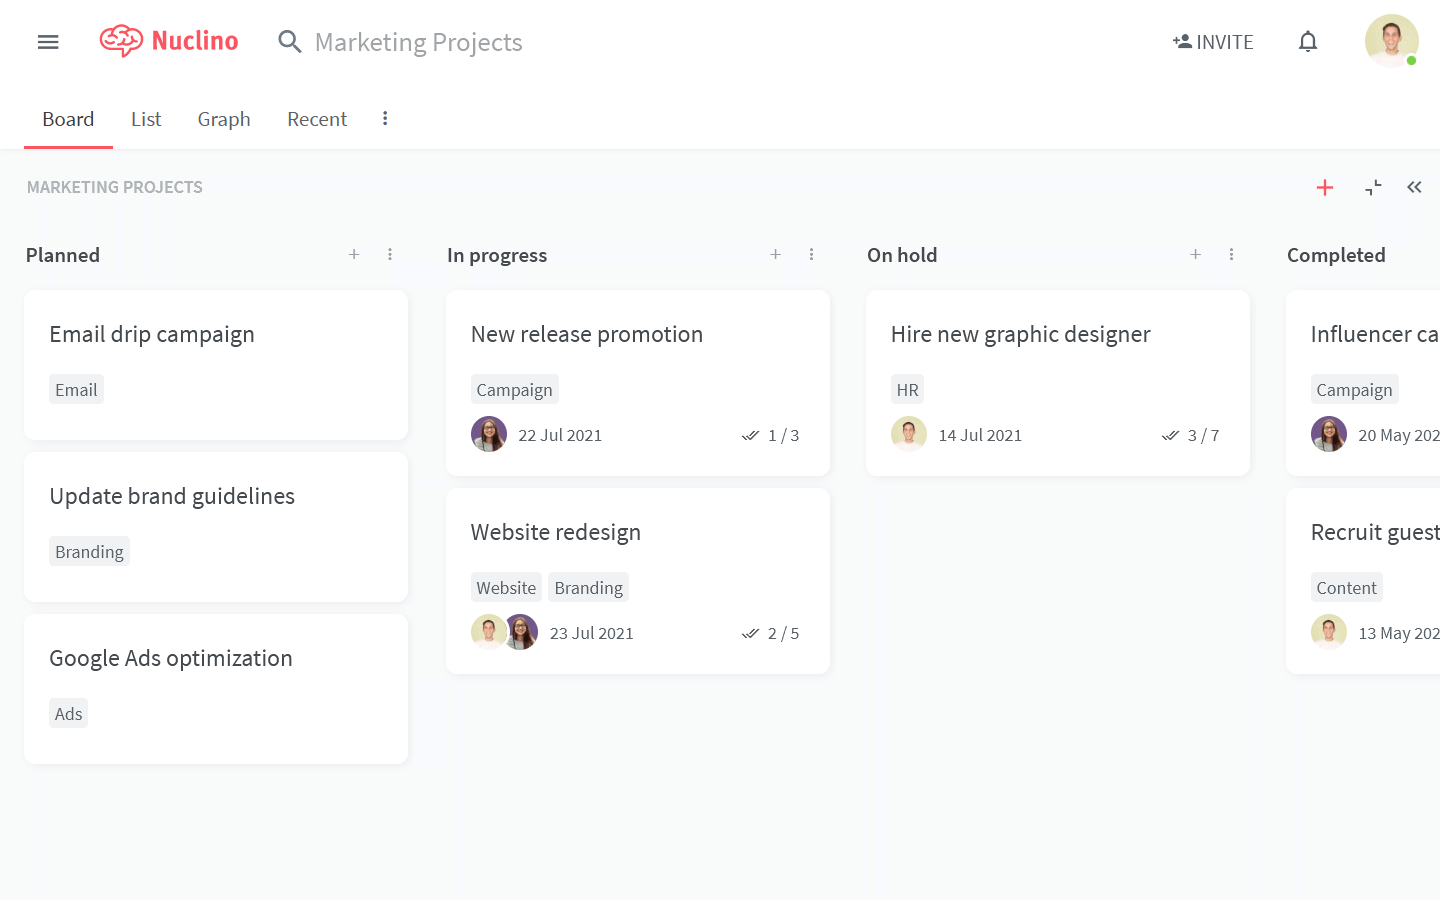
Content in Nuclino is made up of items (board cards) that are grouped in collections (board lists).
Get started by creating the collections that match the different stages of your marketing campaigns, for example:
Upcoming
Ongoing
Blocked
Completed
Once the project or campaign moves from one stage to the next, you can simply drag and drop it from one collection to another.
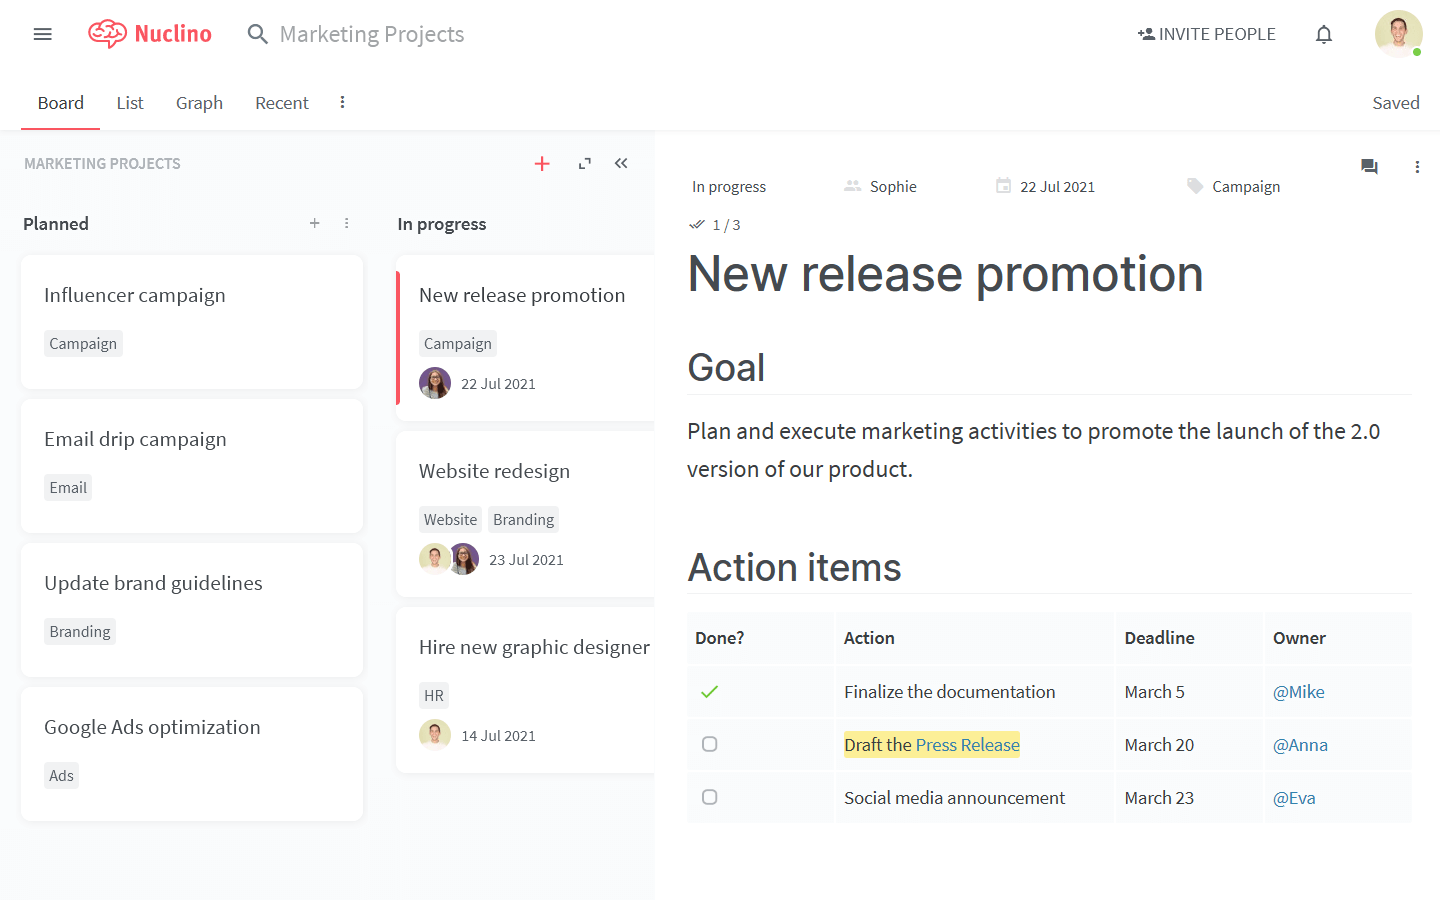
Step 3: Create campaigns and assign tasks
Now you are ready to fill your board with campaigns and projects. Click on the + sign under each of the collections.
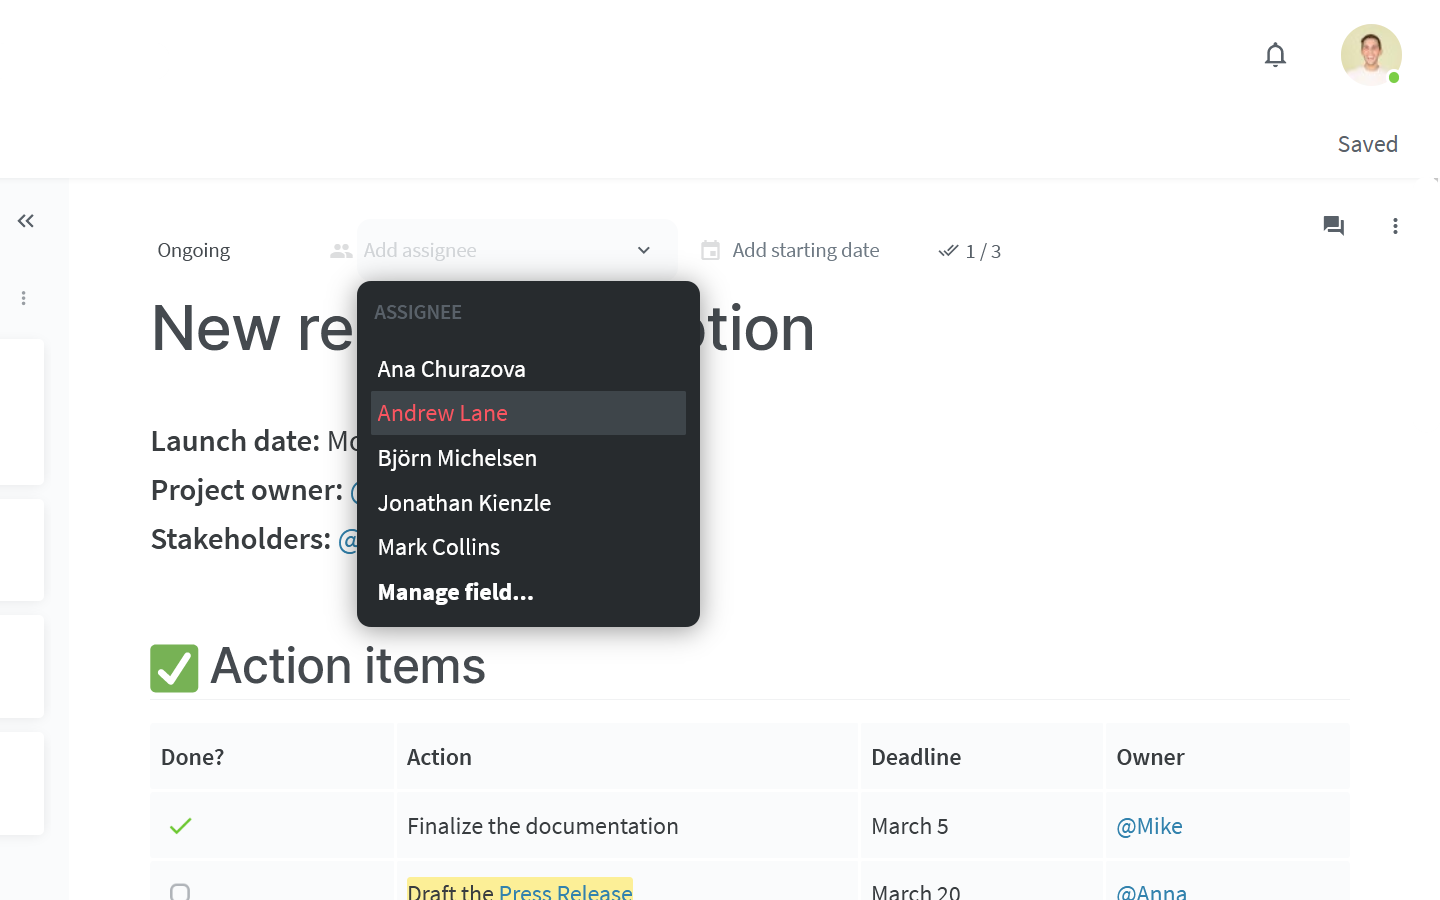
Use fields to track additional information about each project. For example, you can add clarity to everyone's responsibilities by creating a field "Assignee" in the workspace settings.
One the field is configured, you will be able to add an assignee to any item. They will get an instant in-app or email notification with the link to the item assigned to them.
Finally, you can add content to your planned campaigns.
A Nuclino item can contain text, images, task lists, tables, and more – click the + button when you're on a new line in the editor or trigger a slash command / to get an entire list of the possibilities. When referencing different items within your workspace, type @ to easily create an internal link.
Step 4: Collaborate and discuss your campaigns
Every piece of content can be edited by you and your colleagues in real time. Use inline and item comments to discuss and leave feedback, and click Follow to be instantly notified about any new comments in the item.
To quickly draw someone's attention or request feedback, @-mention any of your colleagues, triggering an in-app or email notification on their end.
Many forms of media can be easily embedded by simply pasting a link, for example, YouTube videos, SoundCloud and Spotify playlists, Prezi presentations, and so on.
👏 You're all set!
Have questions or looking for more tips? Email us at contact@nuclino.com!