Use Canvas
Who can use this feature?
🔐 Only workspace members with full access can add and edit a canvas.
⭐️ On the Free plan, you can create up to 3 canvases. On the paid plans, you can create an unlimited number of canvases.
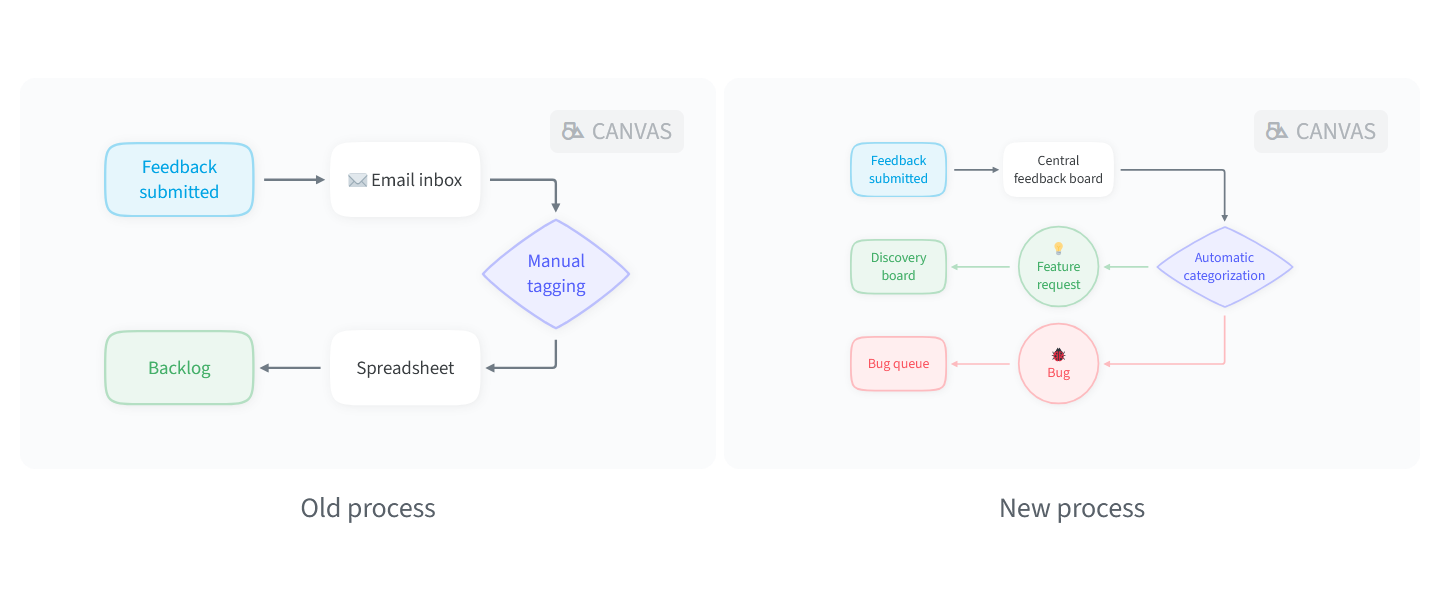
Canvas enables seamless visual collaboration directly in Nuclino and allows you to easily add whiteboards and diagrams to any item or collection. You can use it to brainstorm, create flowcharts, build moodboards, and more – all without leaving Nuclino.
To add a canvas
Open the item or collection you'd like to add a canvas to.
Click on an empty line or create a new one.
Use the insert menu or the
/canvasslash command to add a canvas.
You can also add multiple canvases side by side and arrange them in a grid – simply drag the canvas and drop it next to another one.
To edit a canvas
To start editing a canvas, double-click it or right-click it and select Edit. The canvas will open in full screen and allow you to edit its content.
A canvas can contain text, sticky notes, shapes, images, and connections.
Text, sticky notes, shapes, and images
Adding new objects
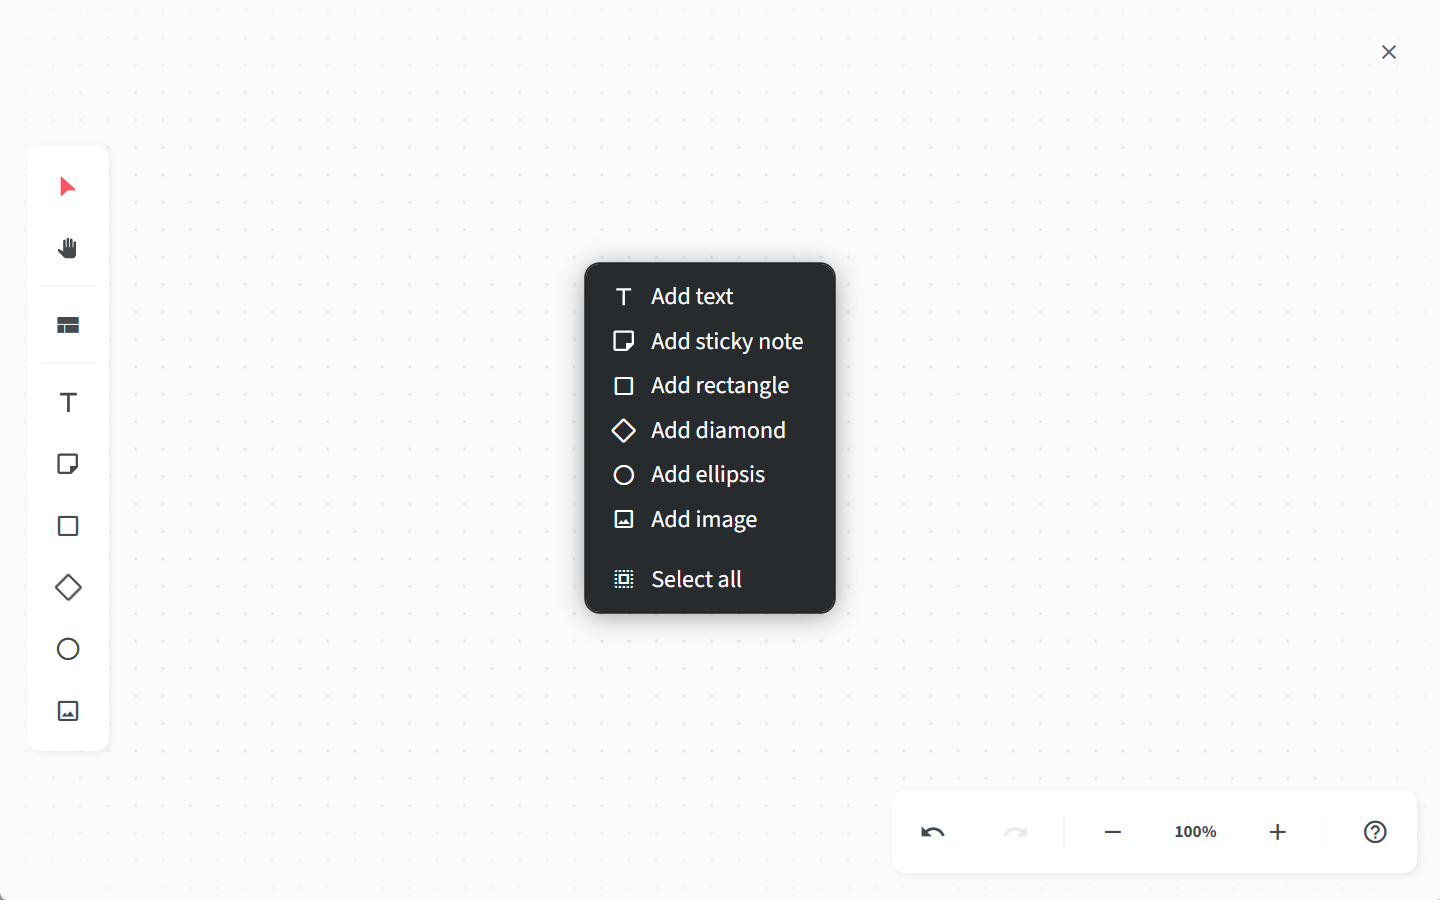
To add text, a sticky note, a shape, or an image to a canvas, you can:
select it from the toolbar and left-click the canvas
right-click the canvas and select it from the menu
drag it from the toolbar onto the canvas
select an existing object and press
Alt+→/←/↓/↑
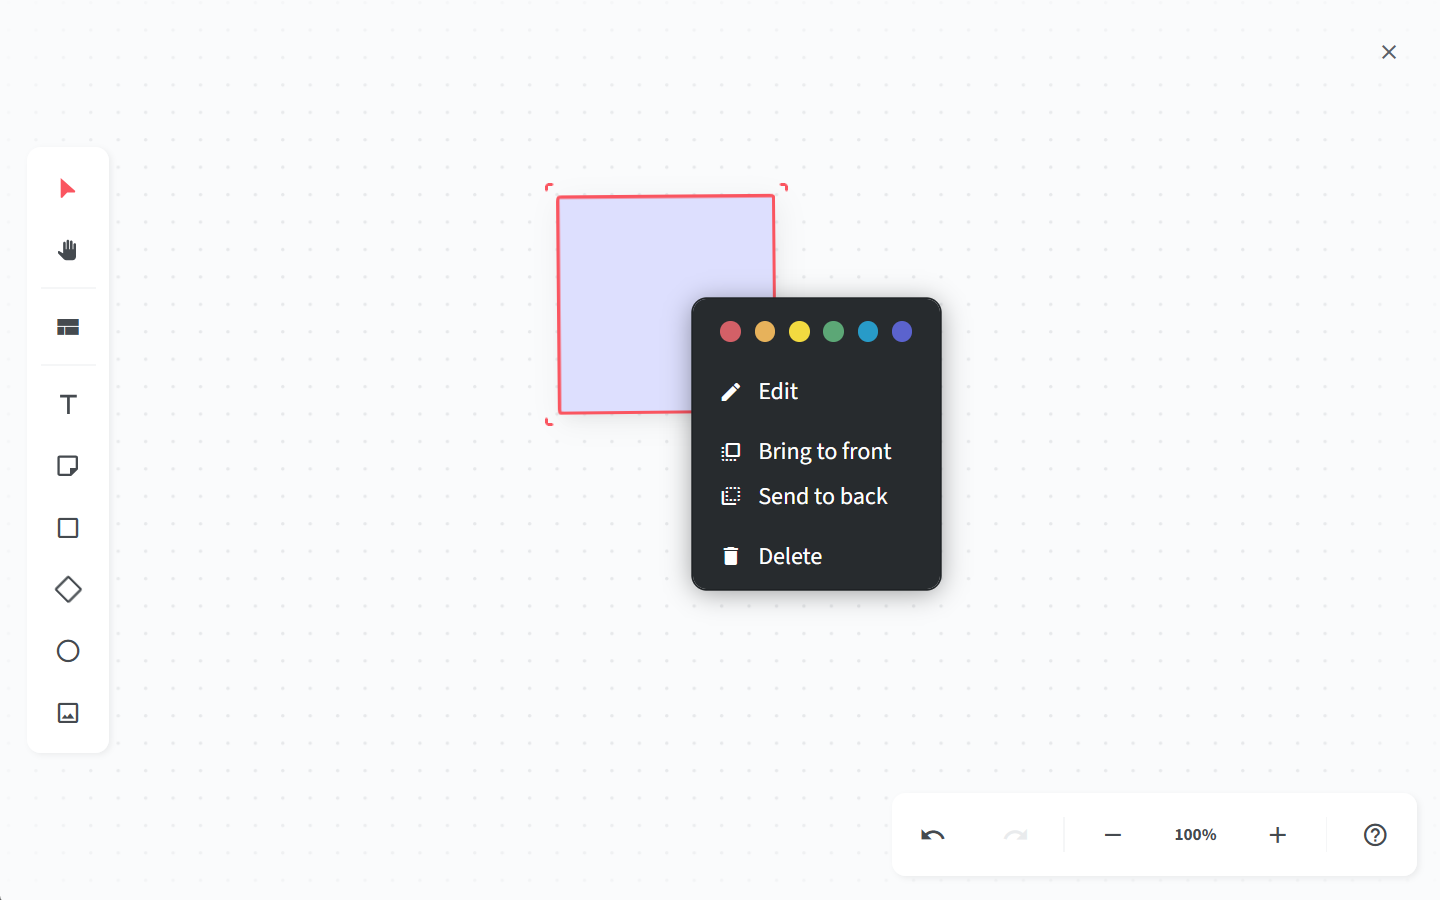
Changing sticky note color
To change the color of a sticky note, right-click it and choose it from the menu.
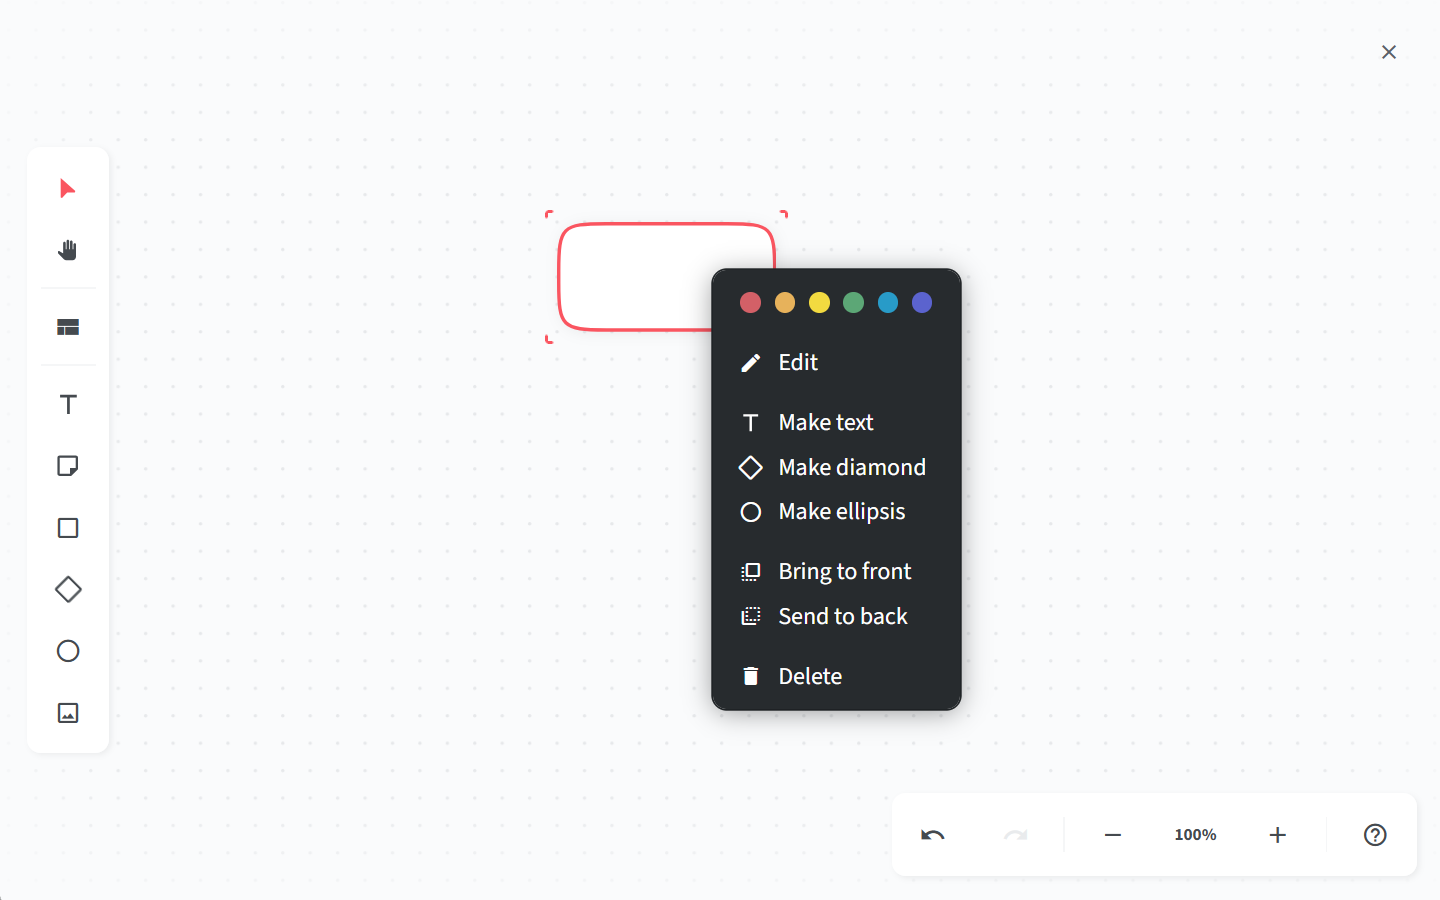
Changing shape type or color
To change the type or color of a shape, right-click it and choose it from the menu.
Editing
Every text box, sticky note, and shape can contain text and emojis. To edit the contents of a text box, sticky note, or shape, you can:
double-click it
select it and press
Enterright-click it and select Edit
Tip
To add an emoji, type : and select it from the menu.
Resizing
To resize a text box, sticky note, shape, or image, select it and then click and drag one of its corners.
Tip
To resize a text box, sticky note, shape, or image without changing its ratio, hold Shift.
To resize a text box, sticky note, shape, or image while keeping its center fixed in place, hold Alt.
Reordering
To reorder overlapping objects on a canvas, right-click any object and select Bring to front or Send to back – or just use the shortcut Ctrl/Cmd + Alt + ] or Ctrl/Cmd + Alt + [.
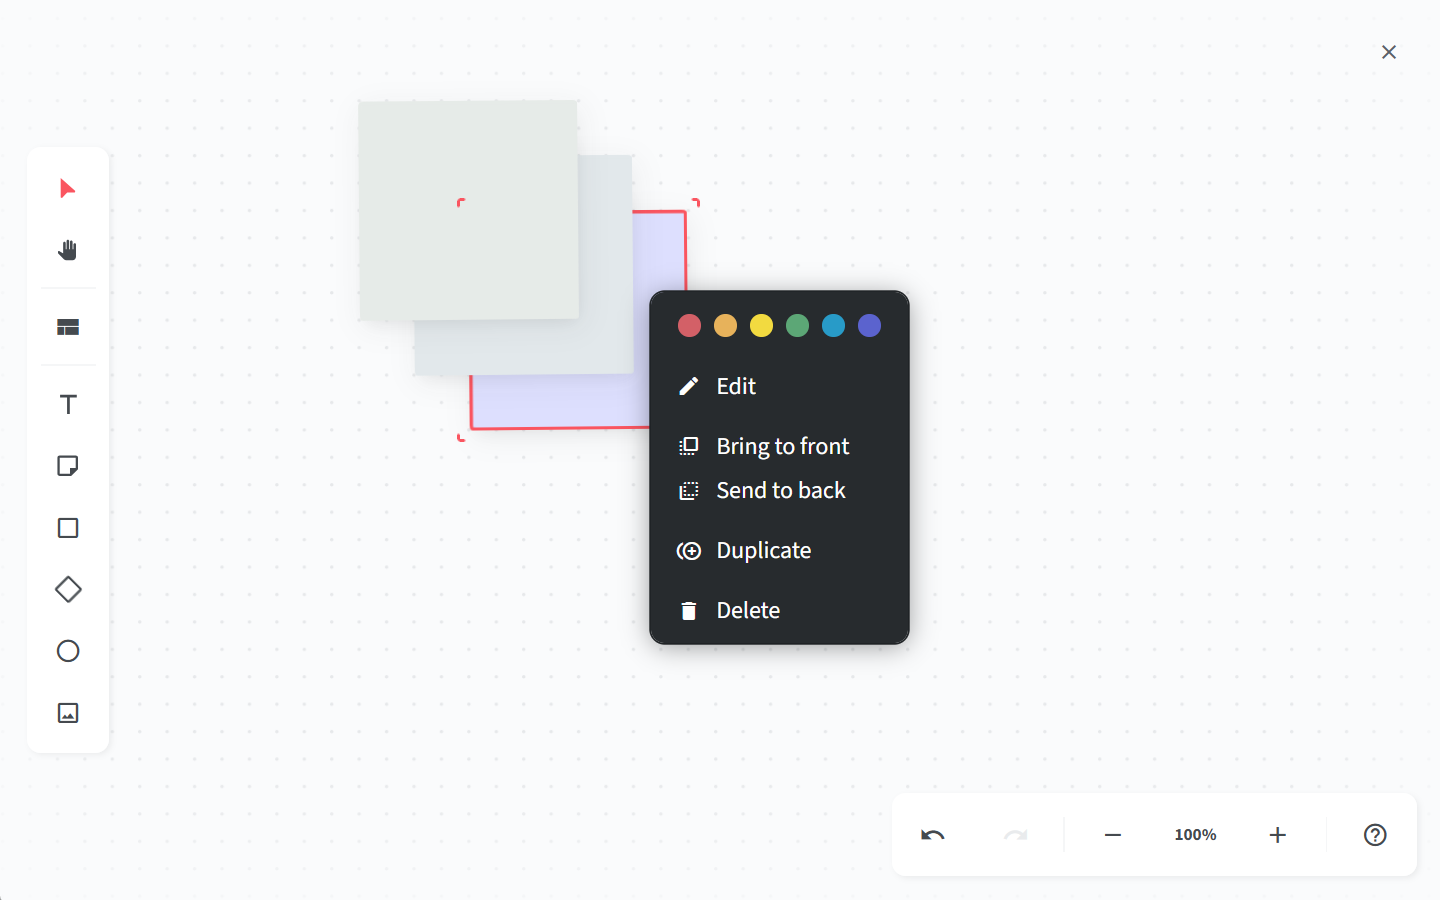
Duplicating
To duplicate an object on a canvas, right-click it and select Duplicate. You can also use the shortcut Ctrl/Cmd + D – or hold Alt while dragging the object.
Connections
Text, sticky notes, shapes, and images can be linked together using connections.
Adding connections
To add a connection, hover over the side of any text box, sticky note, shape, or image, click on the red dot, and drag it to the side of another text box, sticky note, shape, or image to connect it.
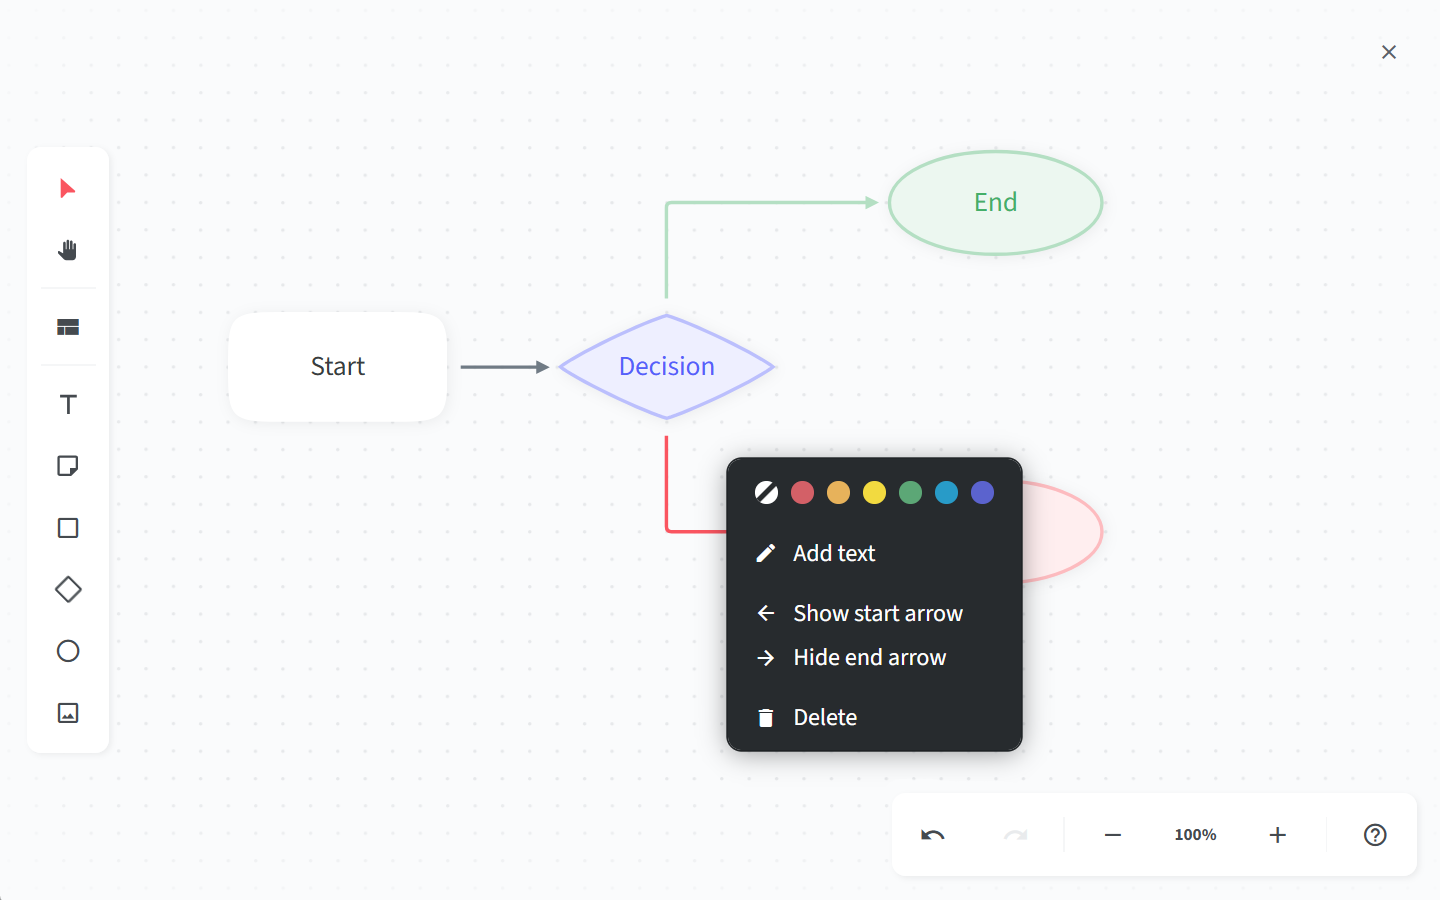
Editing connections
To edit a connection, right-click it. You can use the menu to:
Change the connection color.
Add text to the connection.
Show or hide the arrow at the start or the end of the connection.
Delete the connection.
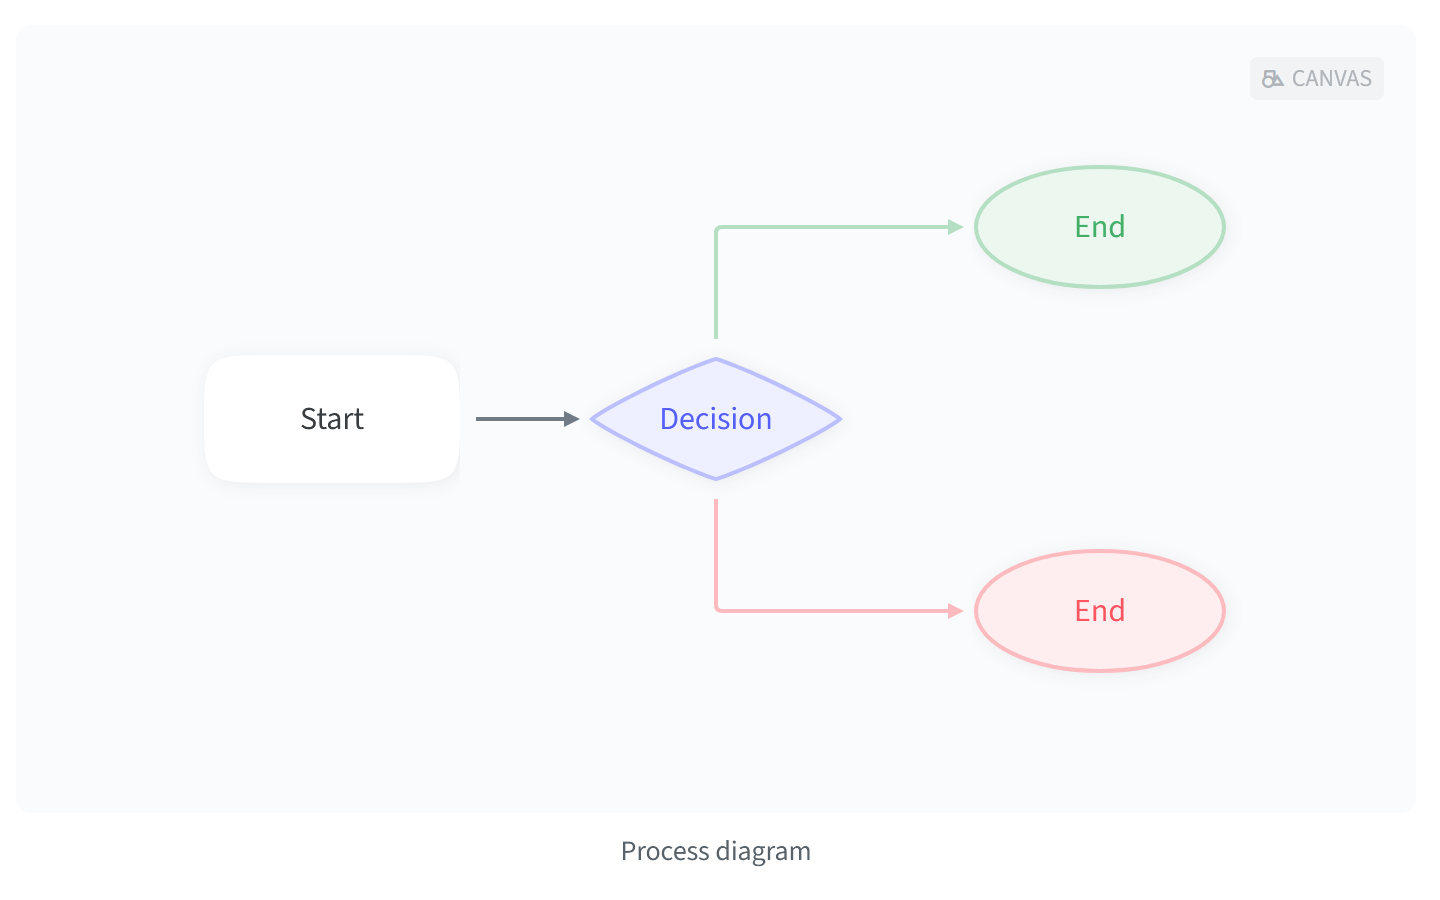
Captions
You can add a caption to a canvas to explain what it shows and add context. To add a caption, right-click the canvas (make sure it's not open in Edit mode), select Caption, and start typing. The caption is saved automatically and can be edited, styled, and commented on like any other text.
To navigate a canvas
Select and Pan mode
You can navigate the canvas using the Select or Pan tools:
In the Select mode, you can select, move, and edit the objects on the canvas.
In the Pan mode, you can freely navigate the canvas without making accidental changes.
You can switch between the Select and Pan mode using the toolbar on the left, or using the following hotkeys:
While in the Select mode, hold
Spaceto switch to Pan mode.While in the Pan mode, you can press
Escto switch to Select mode.
Zoom
You can zoom in and out of the canvas using the mouse wheel, the zoom controls in the bottom-right corner, or the following shortcuts:
Actual size:
Ctrl/Cmd+0Zoom in:
Ctrl/Cmd++Zoom out:
Ctrl/Cmd+-
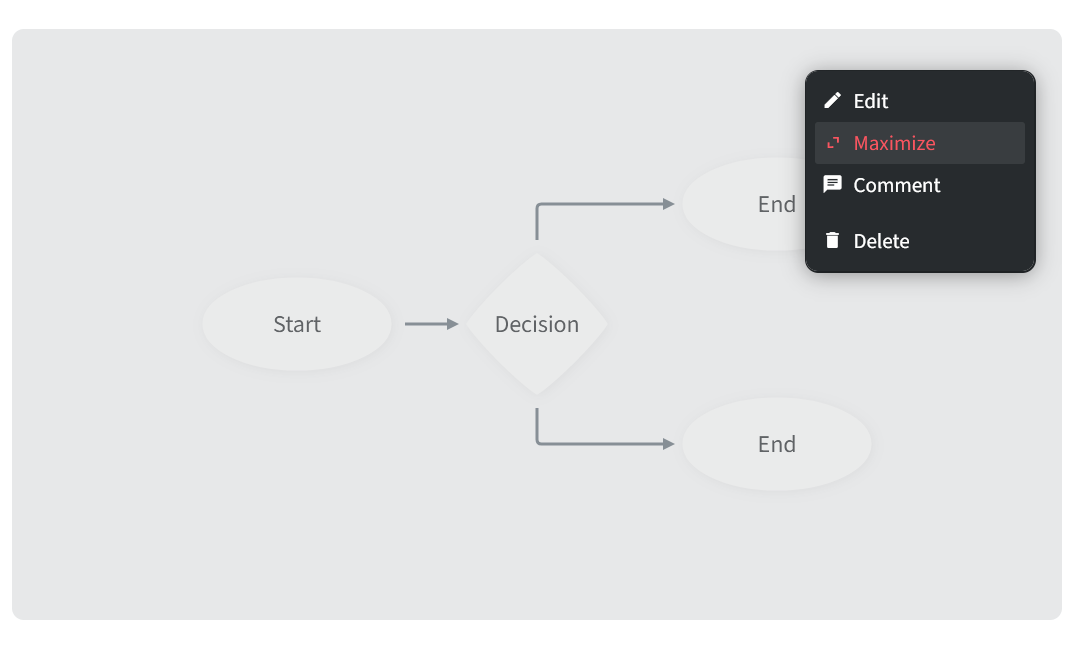
To maximize or minimize a canvas
A canvas can be resized to take up more or less space inside an item or collection.
Right-click the canvas you'd like to resize.
Select Maximize or Minimize.
To comment on a canvas
Right-click the canvas you'd like to comment on.
Select Comment.
Type your comment and click on COMMENT.
The canvas will be highlighted with a yellow border until the comment is resolved or deleted.
To delete a canvas
Right-click the canvas you'd like to delete.
Select Delete.