Configure SAML-based single sign-on (SSO) with Okta
Who can use this feature?
🔐 Only team owners and admins can configure single sign-on (SSO)
⭐️ Available on the Business plan.
Step 1: Prepare the configuration
Log in to Nuclino.
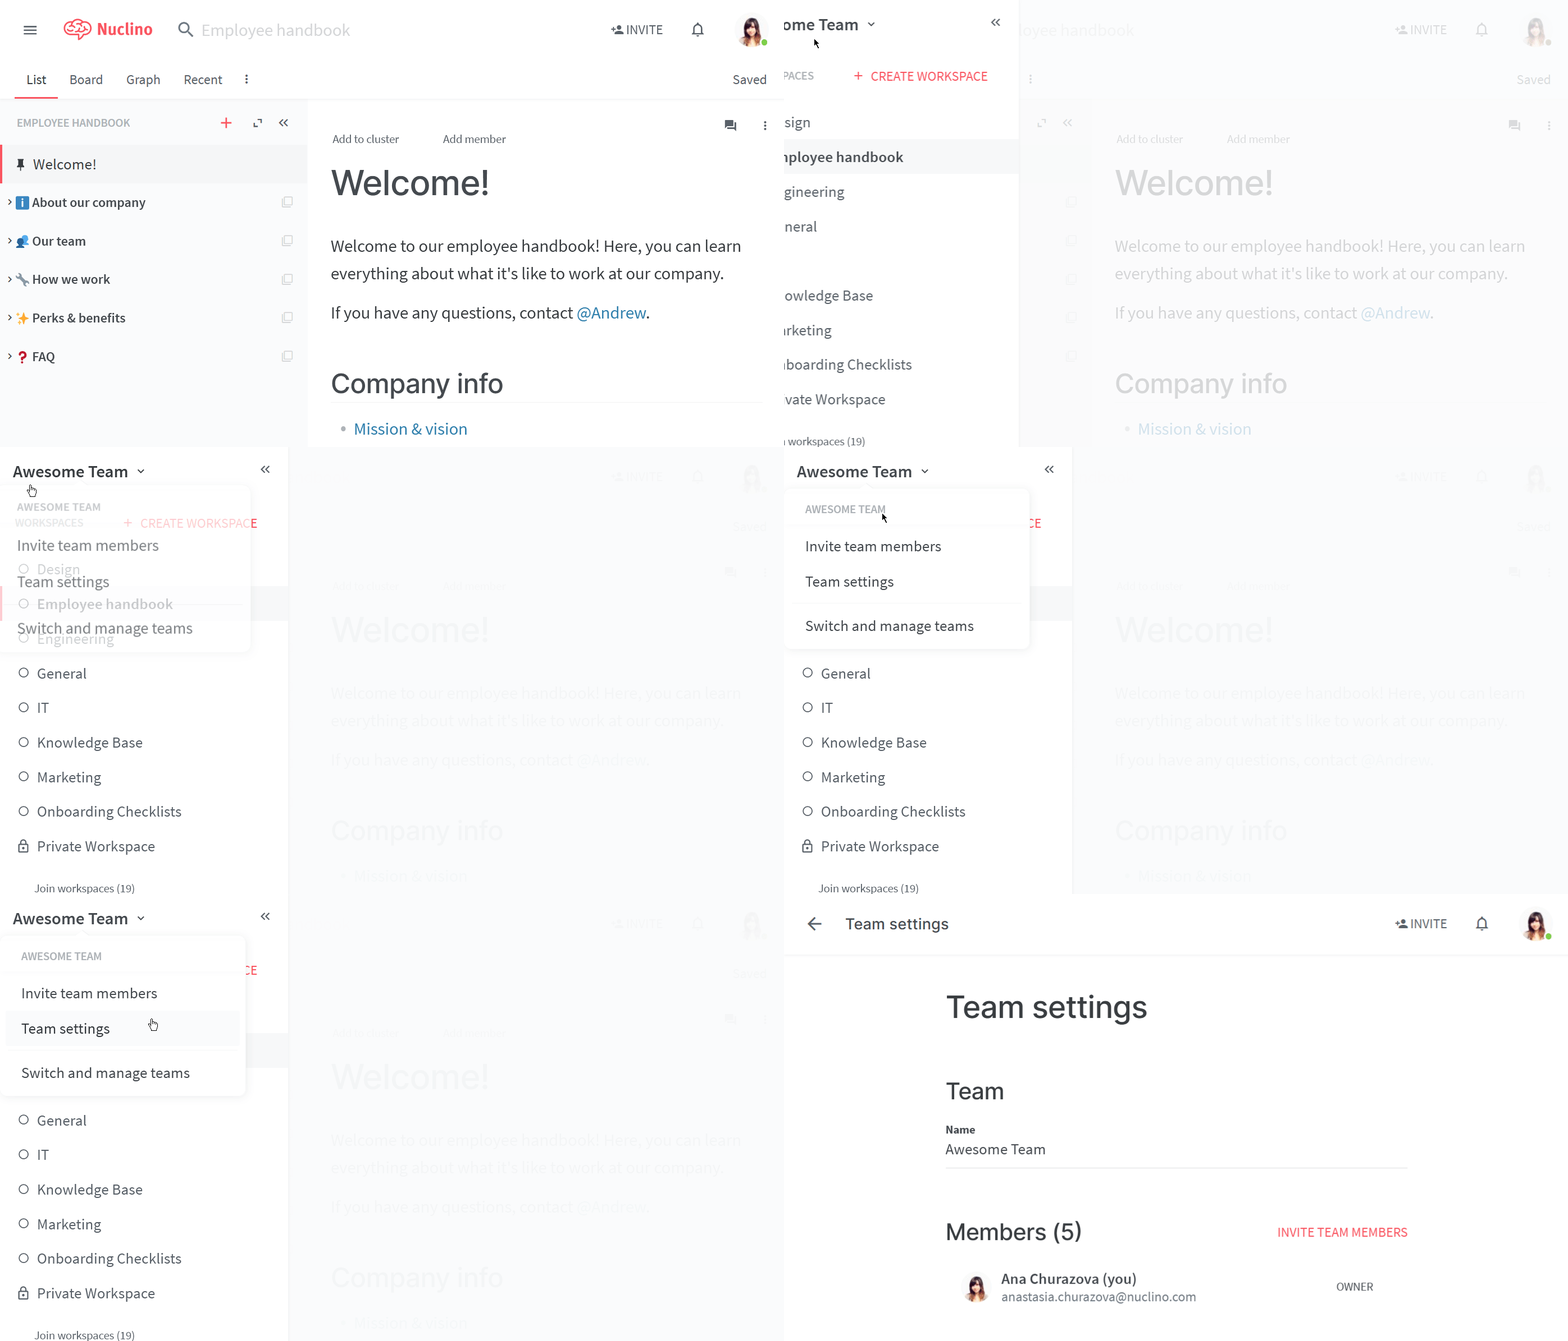
Open your Team settings by opening the main menu in the top left corner of the app, clicking on your team name, and then choosing Team settings.

Go to the Authentication section and choose SAML-based single sign-on (SSO).
Note the ACS URL and Entity ID.
Step 2: Set up Okta for Nuclino
Log in to Okta and click on Add applications in the admin dashboard.

Click on Create New App.

Select Web as the platform and SAML 2.0 as the sign-on method and click Create.

Set the App Name to Nuclino and click Next.

Fill out the general SAML settings:
Single sign on URL: Enter the ACS URL you noted in Step 1
Audience URI (SP Entity ID): Enter the Entity ID you noted in Step 1

Add the following attribute statements:

Click Next.
Select I'm an Okta customer adding an internal app and click finish.
Click on View Setup Instructions and copy the following data
Identity Provider Single Sign-On URL
Identity Provider Issuer
X.509 Certificate
Go to the Assignments tab to configure who should be able to log in to Nuclino.
Step 3: Integrate Nuclino with your identity provider
Log in to Nuclino.
Click the menu button in the top left corner to open the main menu.
Click on your team name and select Team settings.
Go to the Authentication section and choose SAML-based single sign-on (SSO)
Enter the following information
SSO URL: Enter the Identity Provider Single Sign-On URL you copied in Step 2
IDP Entity ID: Enter the Identity Provider Issuer you copied in Step 2
Public certificate: Enter the X.509 Certificate data you copied in Step 2
Click Save changes.
Optional: Enforce single sign-on (SSO)
After you have successfully set up SSO
Your team can now sign up and log in via your team URL which you can find in your team settings in the Authentication section.
People who already have a Nuclino account with the same email address as their SSO account can choose to link this account. Afterwards, they can log in using their existing Nuclino account or use SSO instead.
For people who don't have a Nuclino account yet, a new account is provisioned when they log in for the first time using your team URL.
Users who have already set up SSO for their Nuclino account can also go to the normal login (https://app.nuclino.com/login) and select Log in via single sign-on (SSO).
Questions?
If you have any questions or need help to set up SSO for Nuclino, please contact us.