Use fields
Who can use this feature?
🔐 Only workspace members with full access can configure and set fields.
⭐️ Available on all plans.
Fields allow you to track additional information about items. You can create fields for labels, dates, owners, or anything else that’s important to your workflow. Fields also make it easy to filter relevant content, allowing you to single out the items marked with a certain field – for example, high-priority tasks.
There are several types of fields you can create:
Single select: Creates a drop-down list of options that can be selected one at a time.
Multiple select: Creates a drop-down list that allows you to select multiple options.
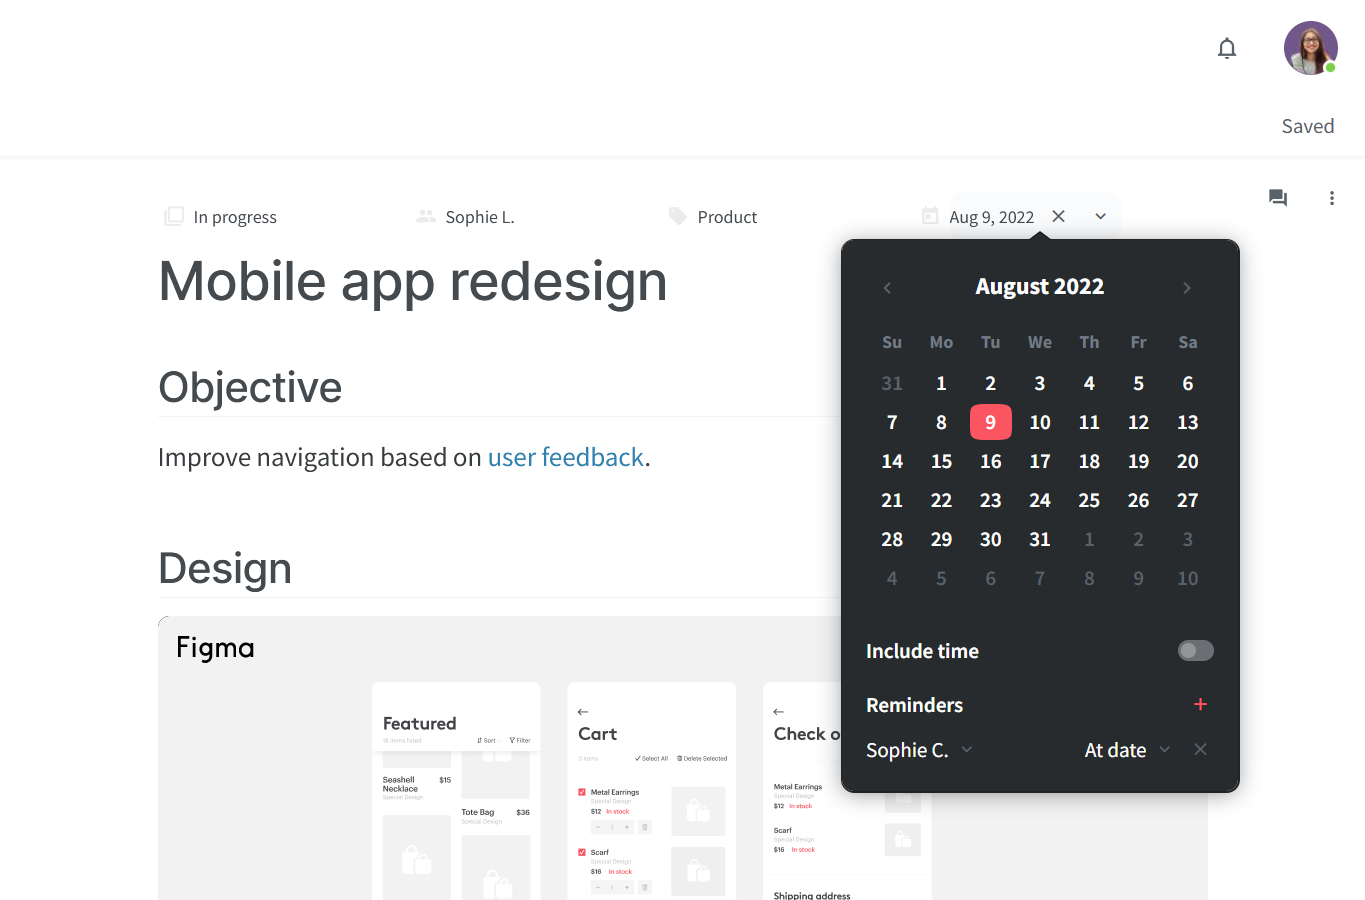
Date: Allows you to set a date (and optionally, time), such as a deadline, and set reminders.
Text: Allows you to add up to 1000 characters of plain text.
Number: Allows you to add an arbitrary number with a custom number of digits after the decimal point.
Currency: Allows you to add a value in one of 11 different currencies.
Team member: Allows you to assign an item to a member of your team, sending them a notification.
Created by: Automatically displays the name of the user who created the item.
Last edited by: Automatically displays the name of the user who last edited the item.
Created time: Automatically displays the date (and optionally, time) an item was created.
Last edited time: Automatically displays the date (and optionally, time) an item was last edited.
In the list view, all fields are displayed above the title of an open item.
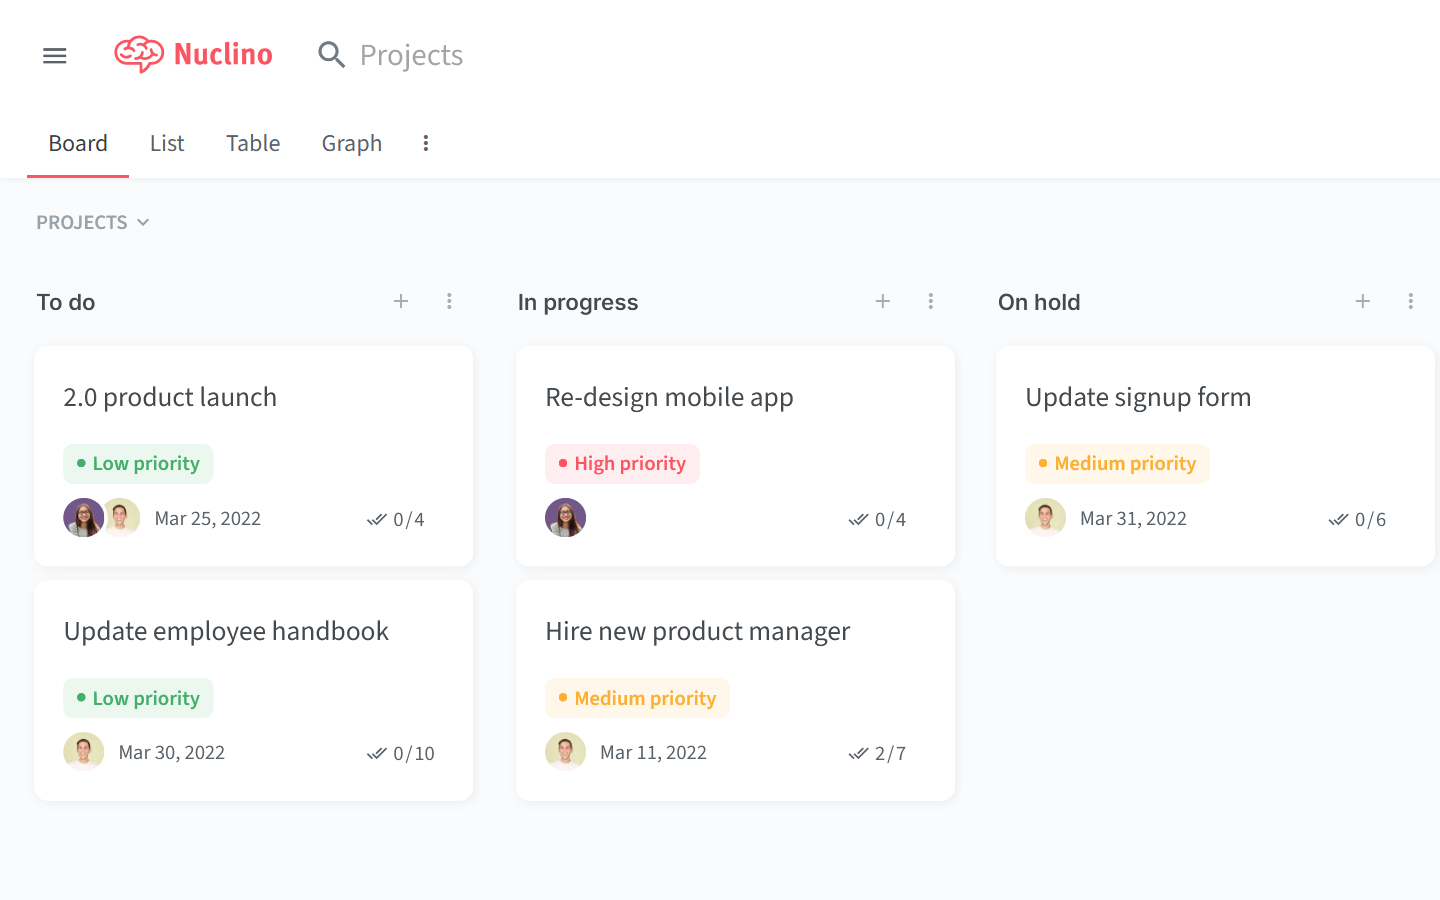
In the board view, the Single select, Multiple select, Date, and Team member field types (the first field of every type) are displayed on the item cards, and the full list of fields is shown above the title of an open item.
If you want a different field to be shown in the board view, change the order of fields in the workspace settings using drag-and-drop and move the field you want to be shown to the top of the list.
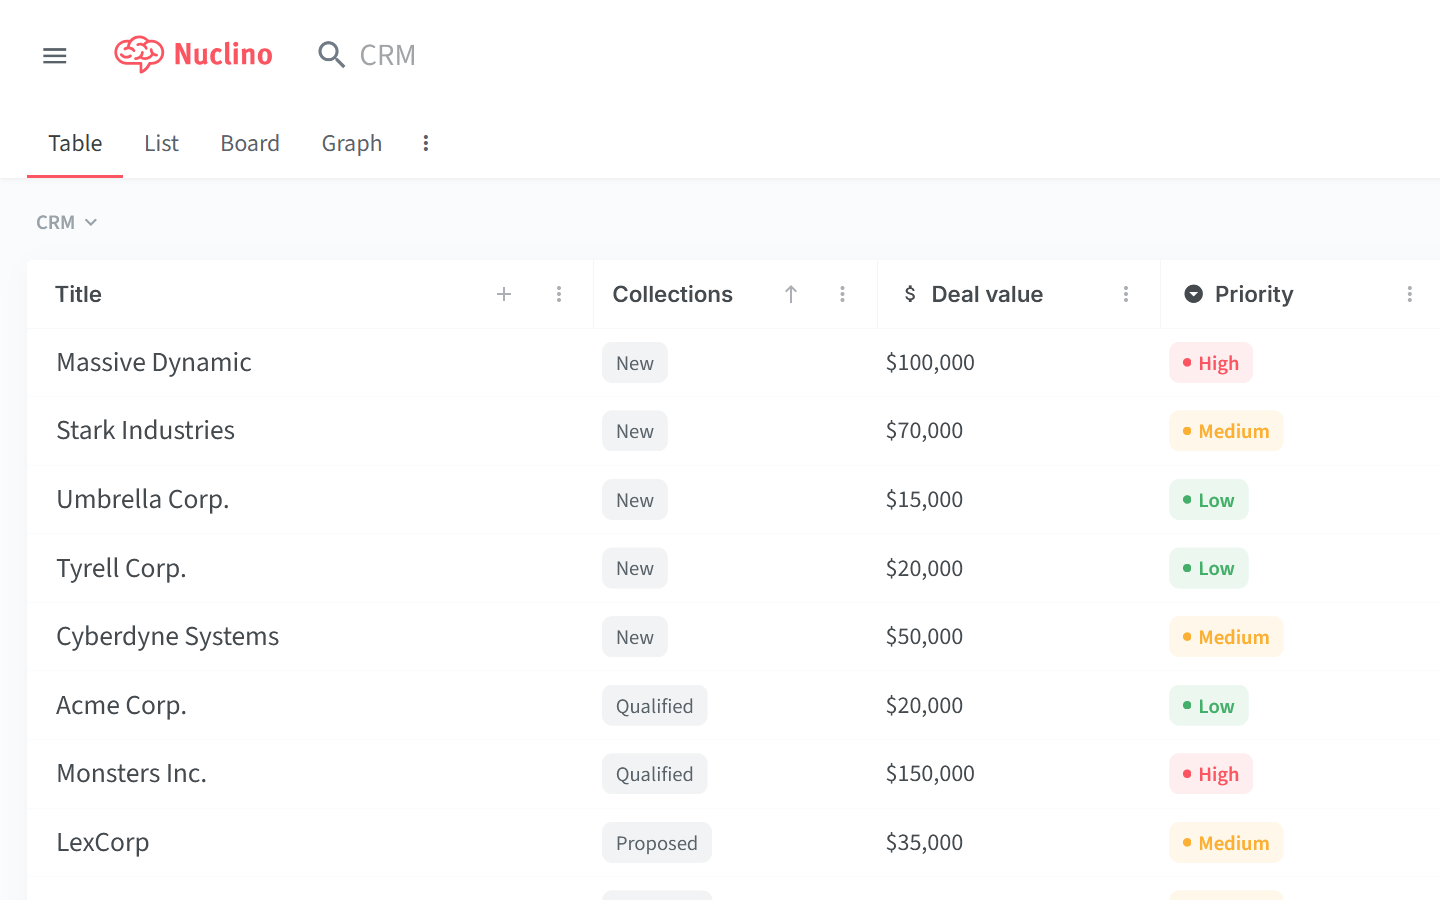
In the table view, all fields are displayed as the columns of your table, as well as above the title of an open item.
To create a field
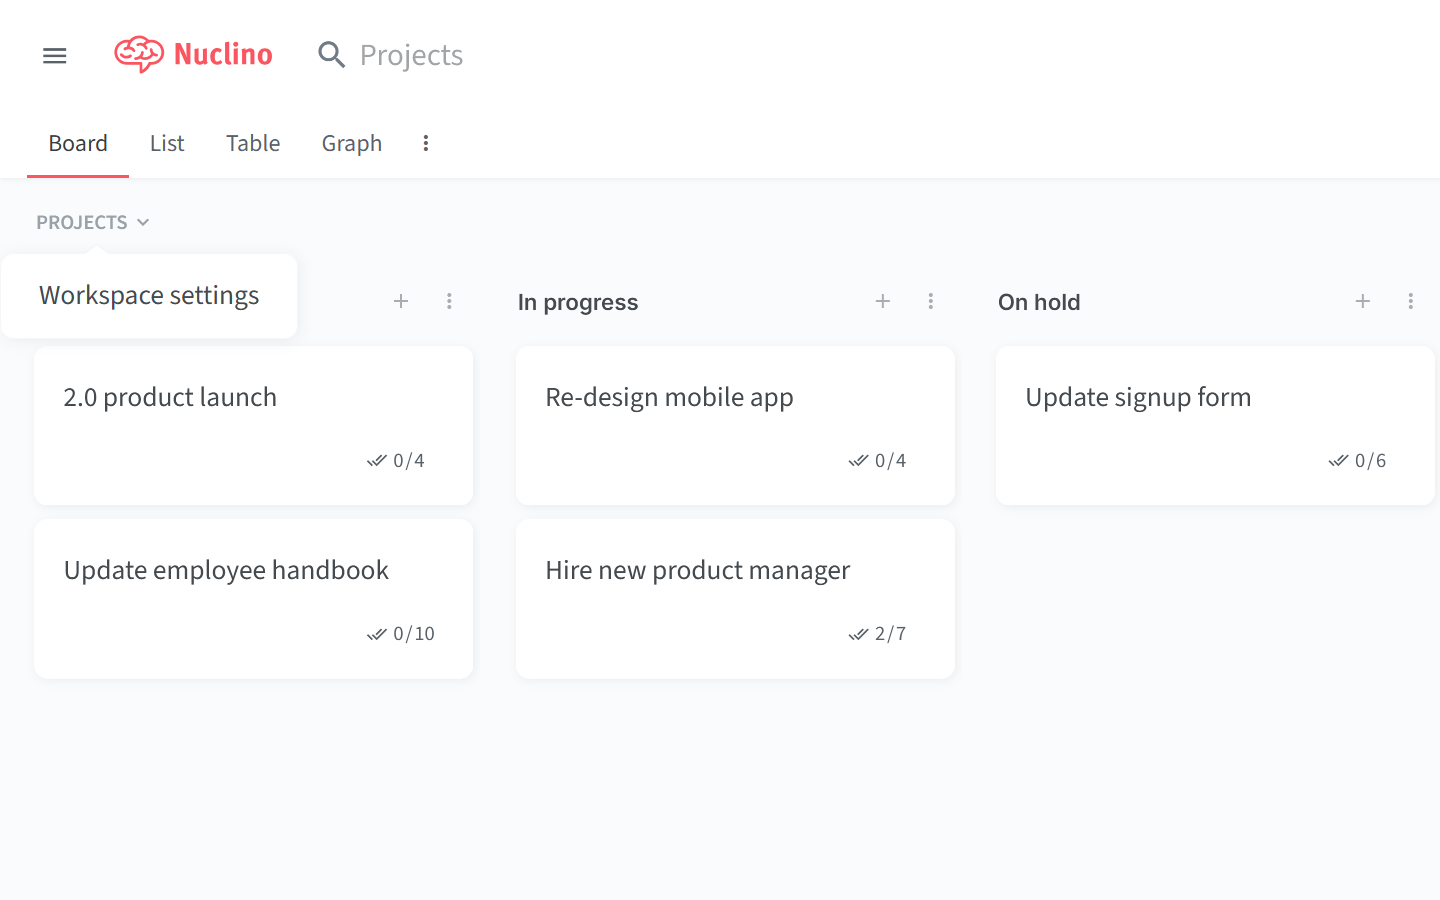
Open the workspace settings by clicking on the workspace name in the top-left corner of the view and selecting Workspace settings.
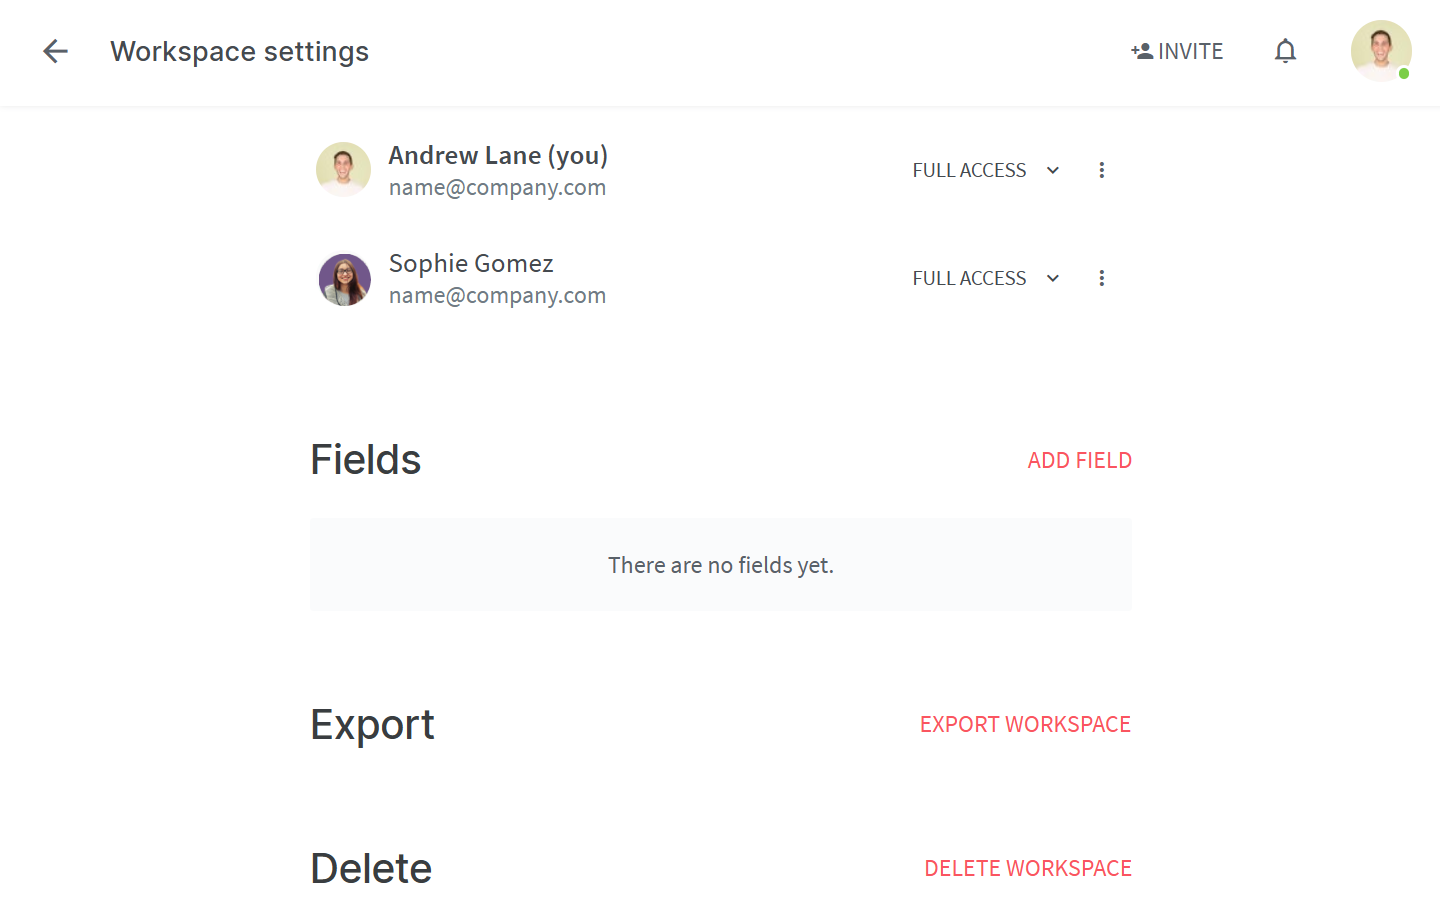
Go to the section Fields and click ADD FIELD.
Type a name for your field, for example, "Tag", "Due date", "Assignee", or "Status".
Select the field type. For the Single select and Multiple select fields, you'll be prompted to add options and assign a color. You can add as many unique options as you want.
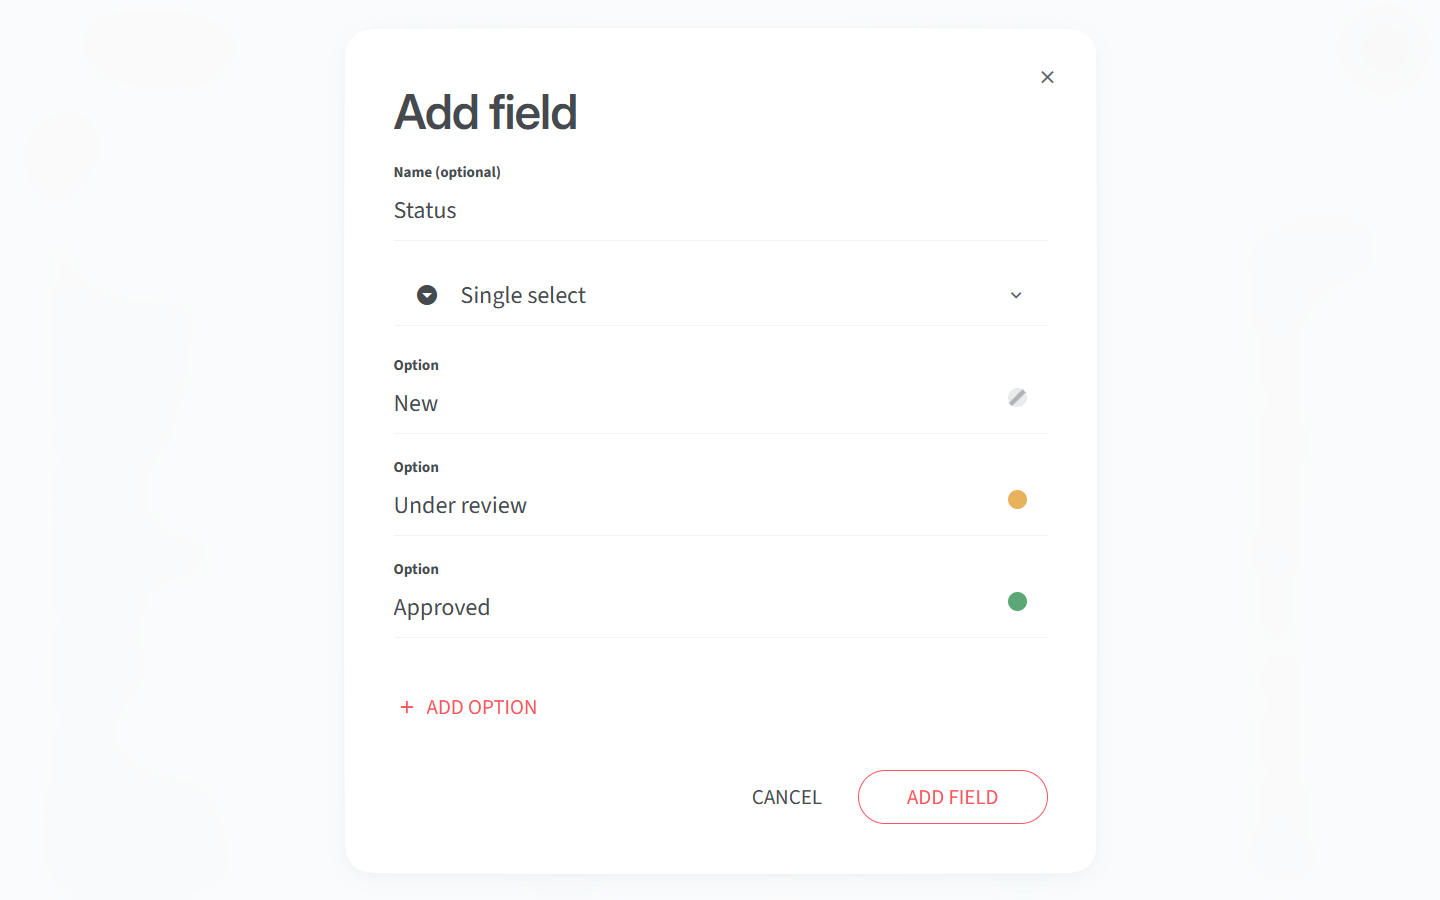
Click ADD FIELD to save your new field.
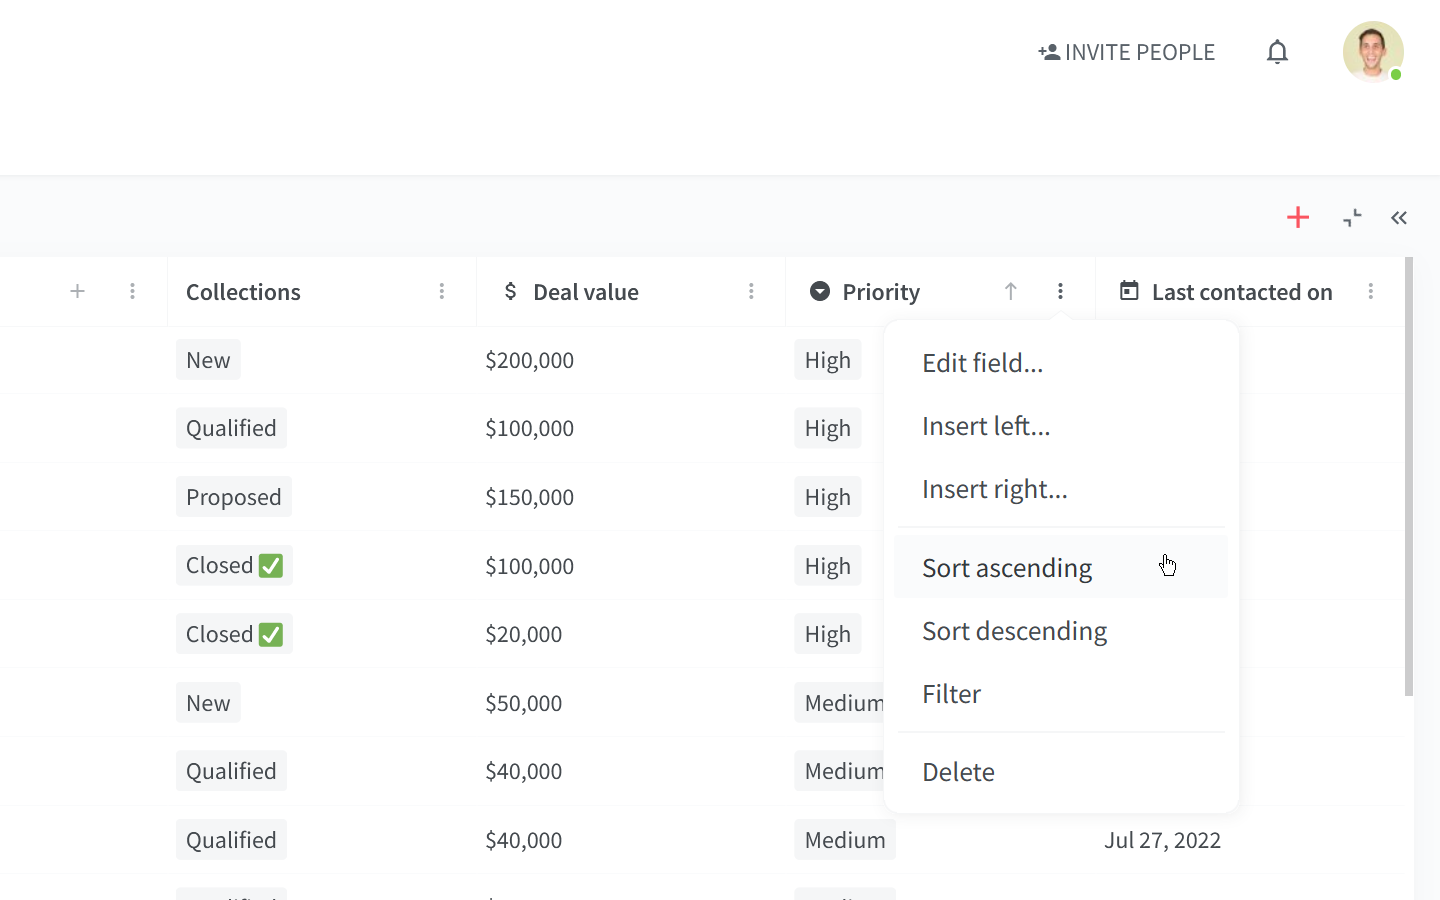
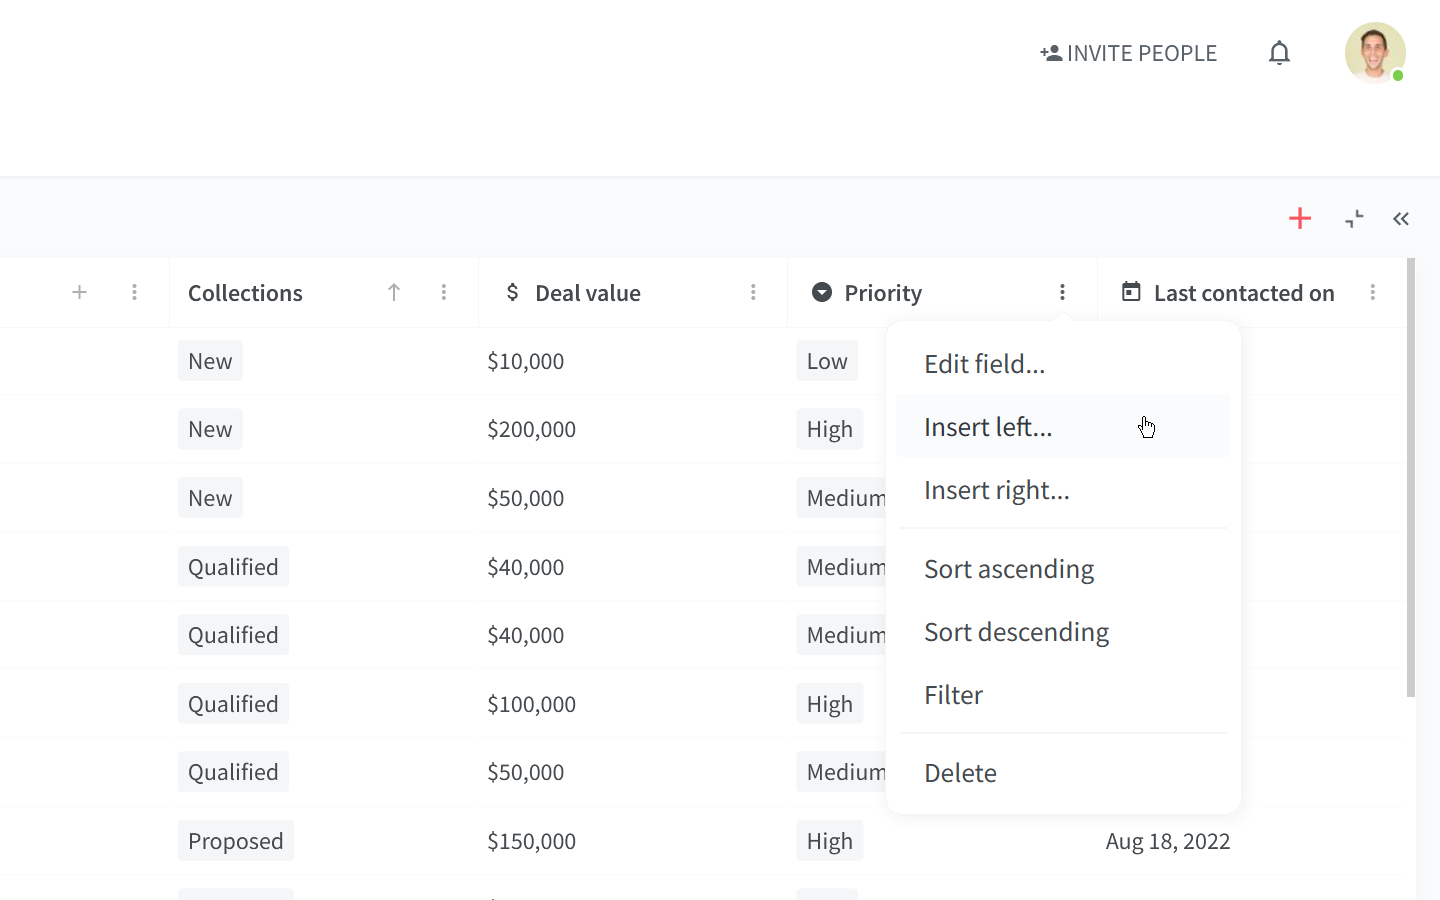
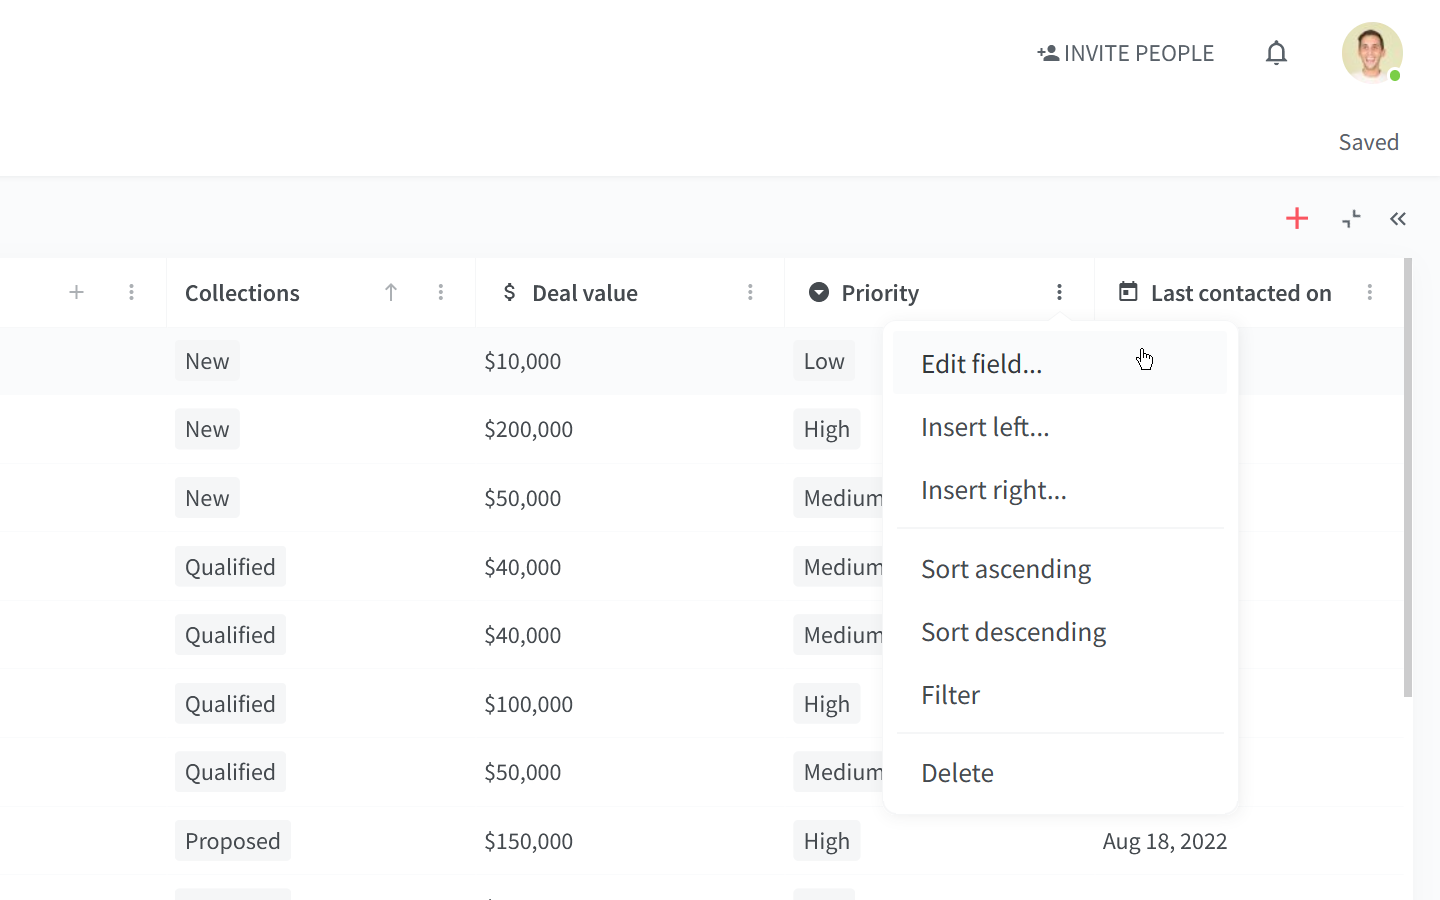
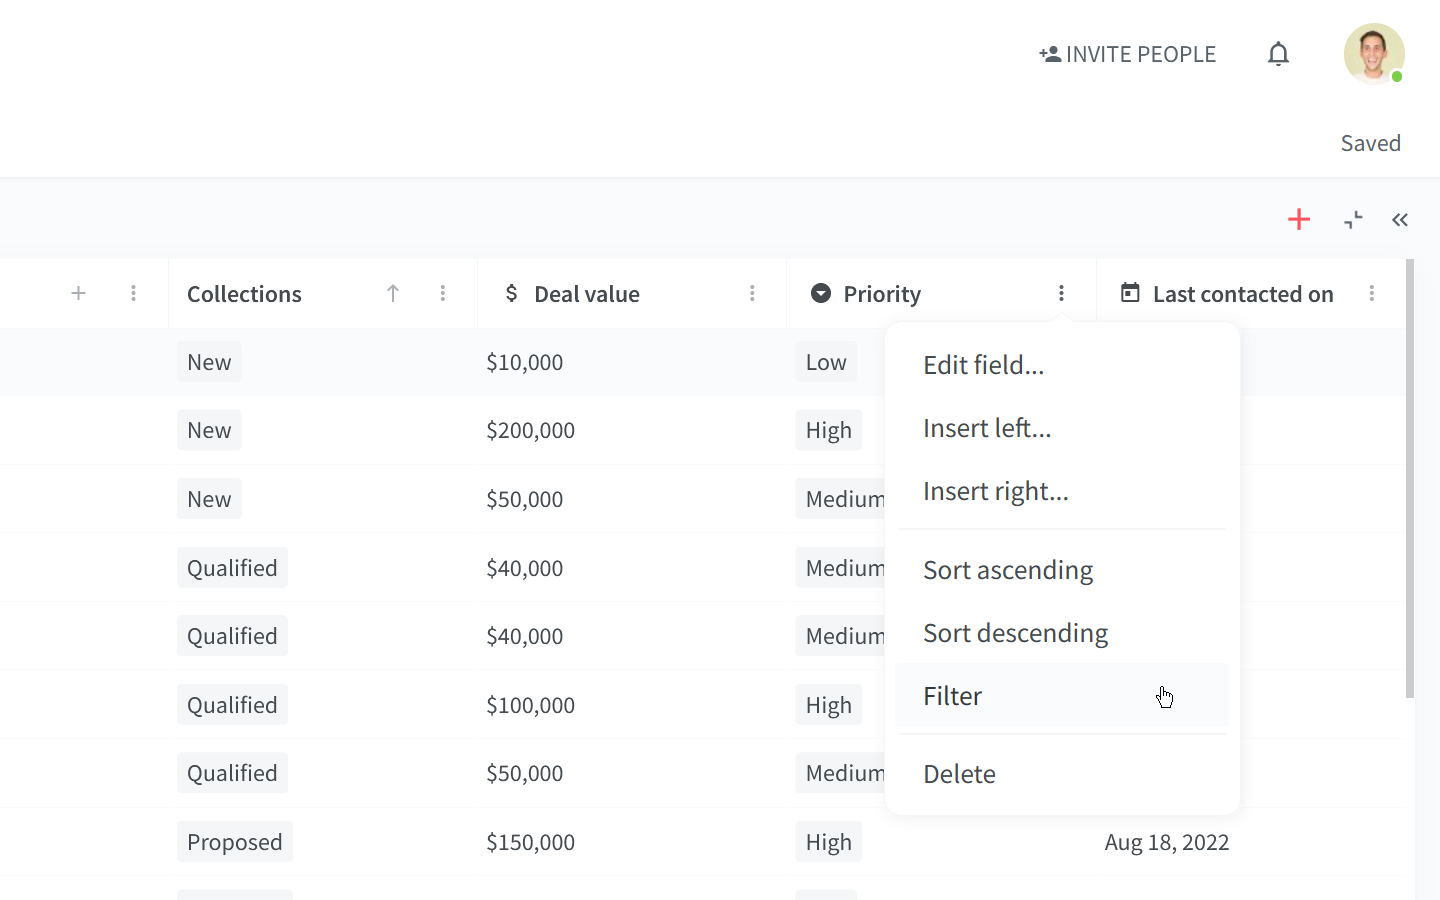
In the table view, you can also add a new field by clicking on the three dots ⋮ to the right of a column title and selecting Insert left... or Insert right....
To edit or delete a field
Open the workspace settings.
Go to the section Fields.
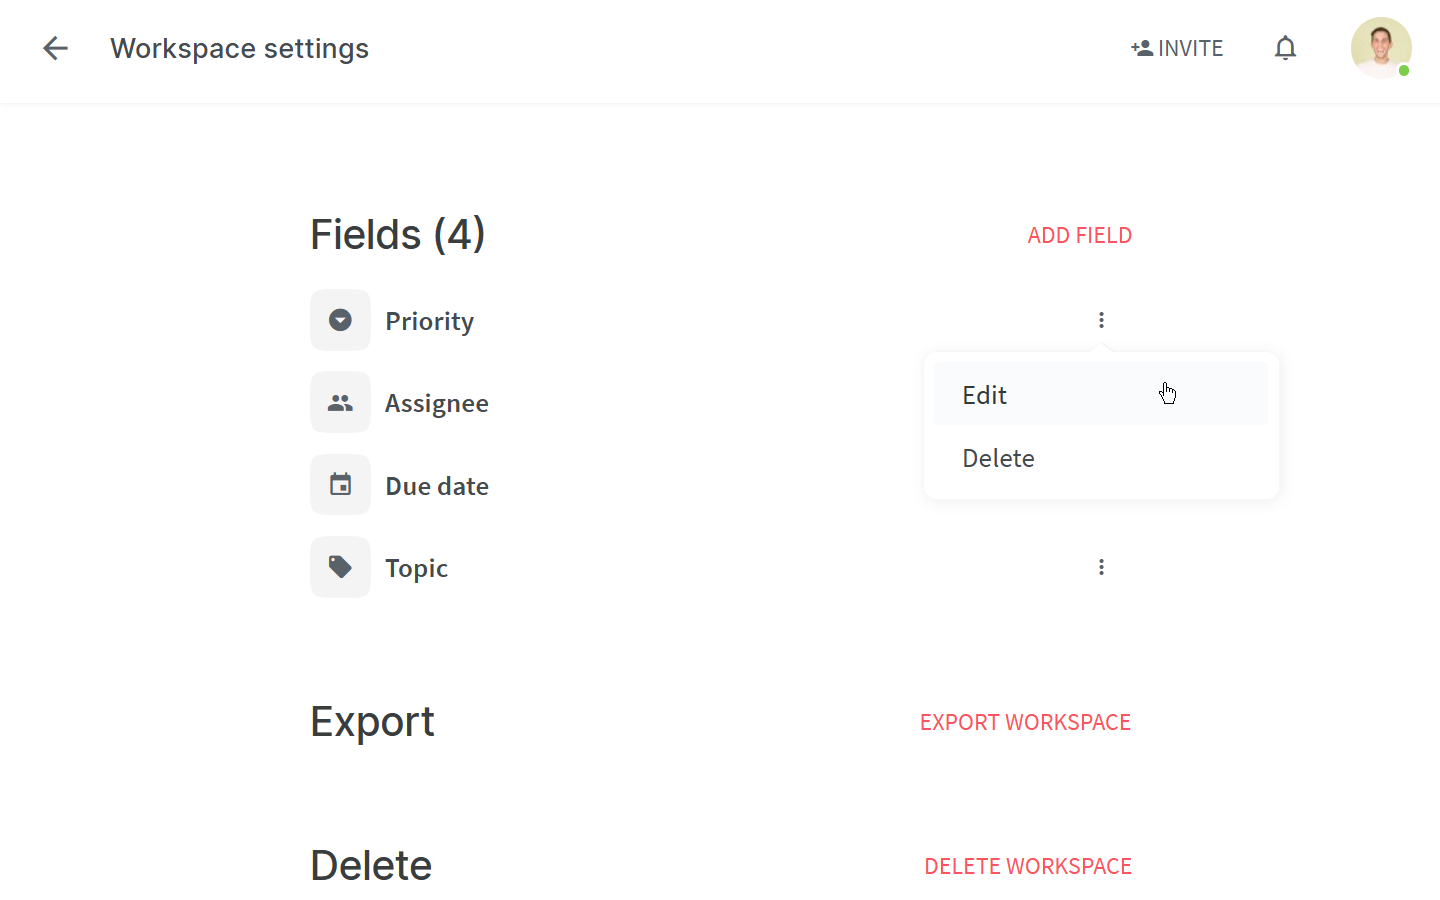
Click on the three dots
⋮to the right of a field you'd like to edit or delete.Select Edit or Delete.
To edit: Click Edit, make the necessary changes, and click SAVE CHANGES.
To delete: Click Delete.
In the table view, you can also edit or delete a field by clicking on the three dots ⋮ to the right of the respective field column title (or right-clicking it) and selecting Edit left... or Delete.
To filter by field
You can easily filter the items that meet specified criteria, i.e. have (or don't have) certain fields. You can combine as many filters as you like.
Type
+into the search bar.Select the field you want to filter by.
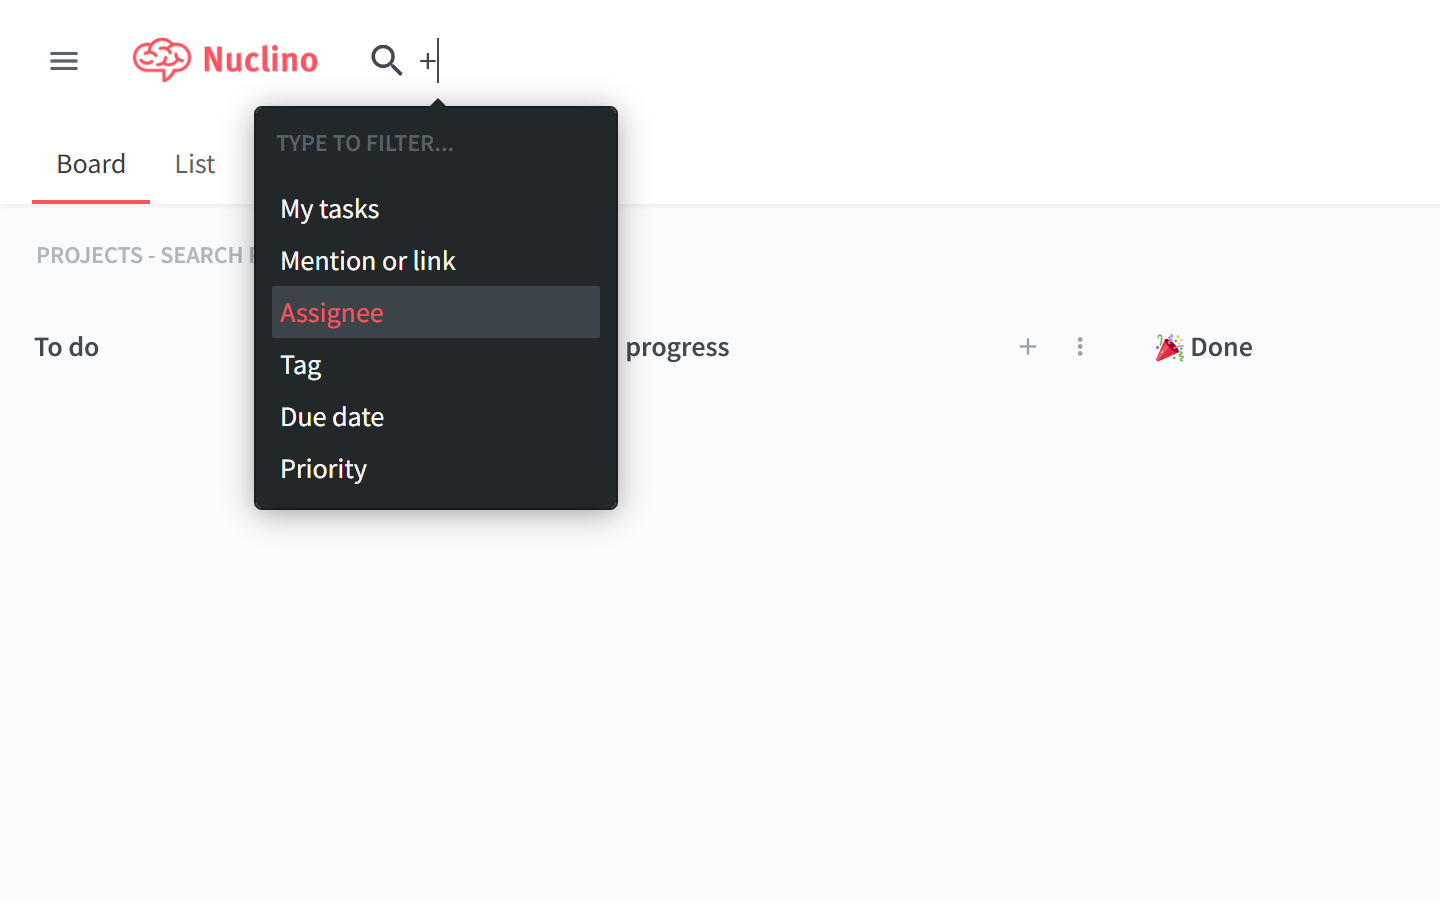
Select the field value. Only the items with that field value will be displayed.
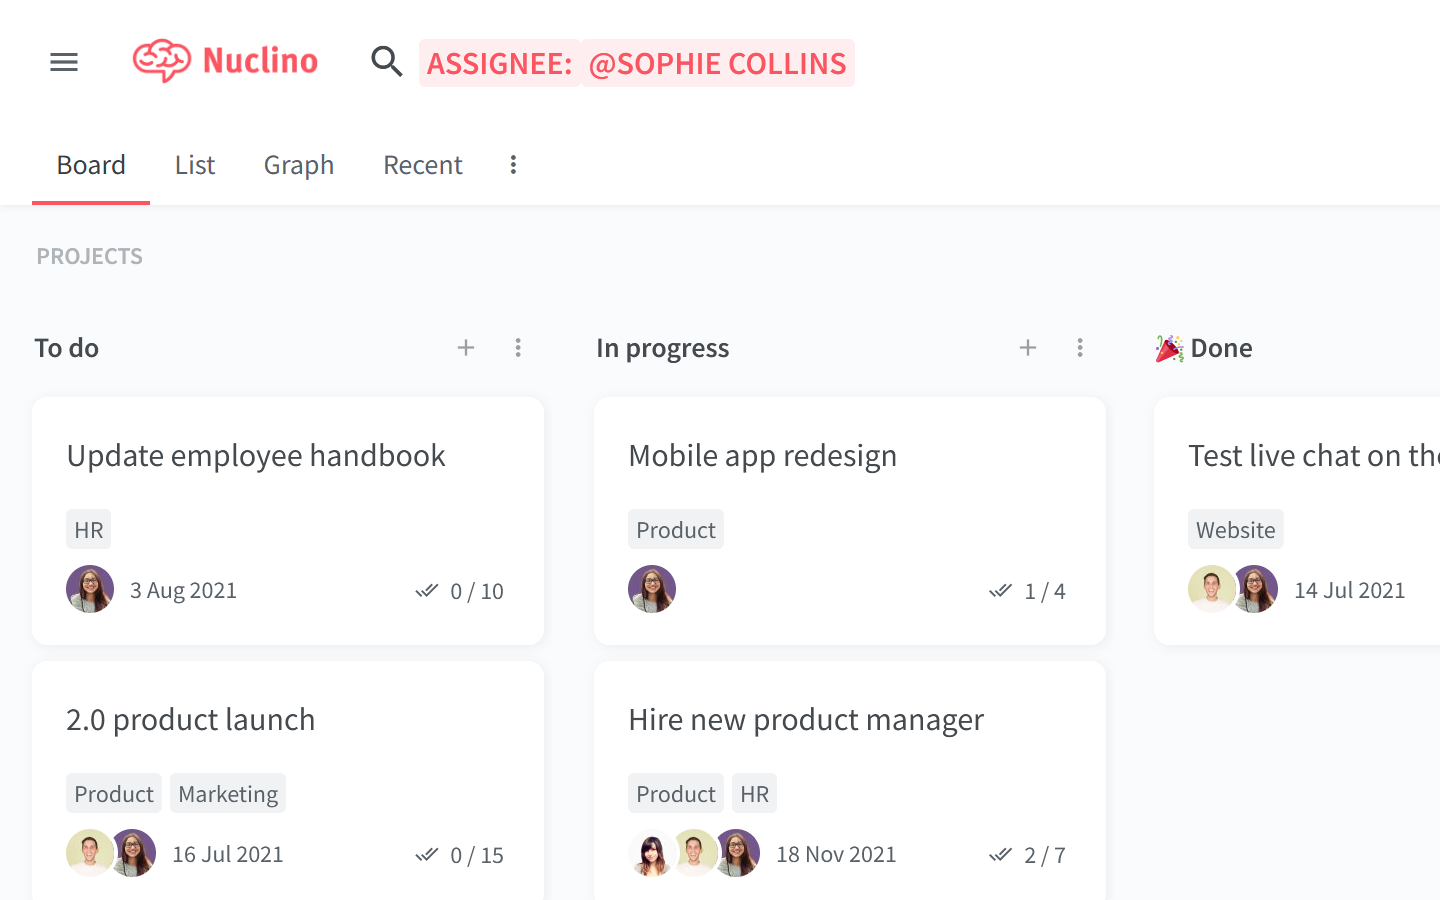
(Optional) Type
+into the search bar again to add another filter and further refine the results.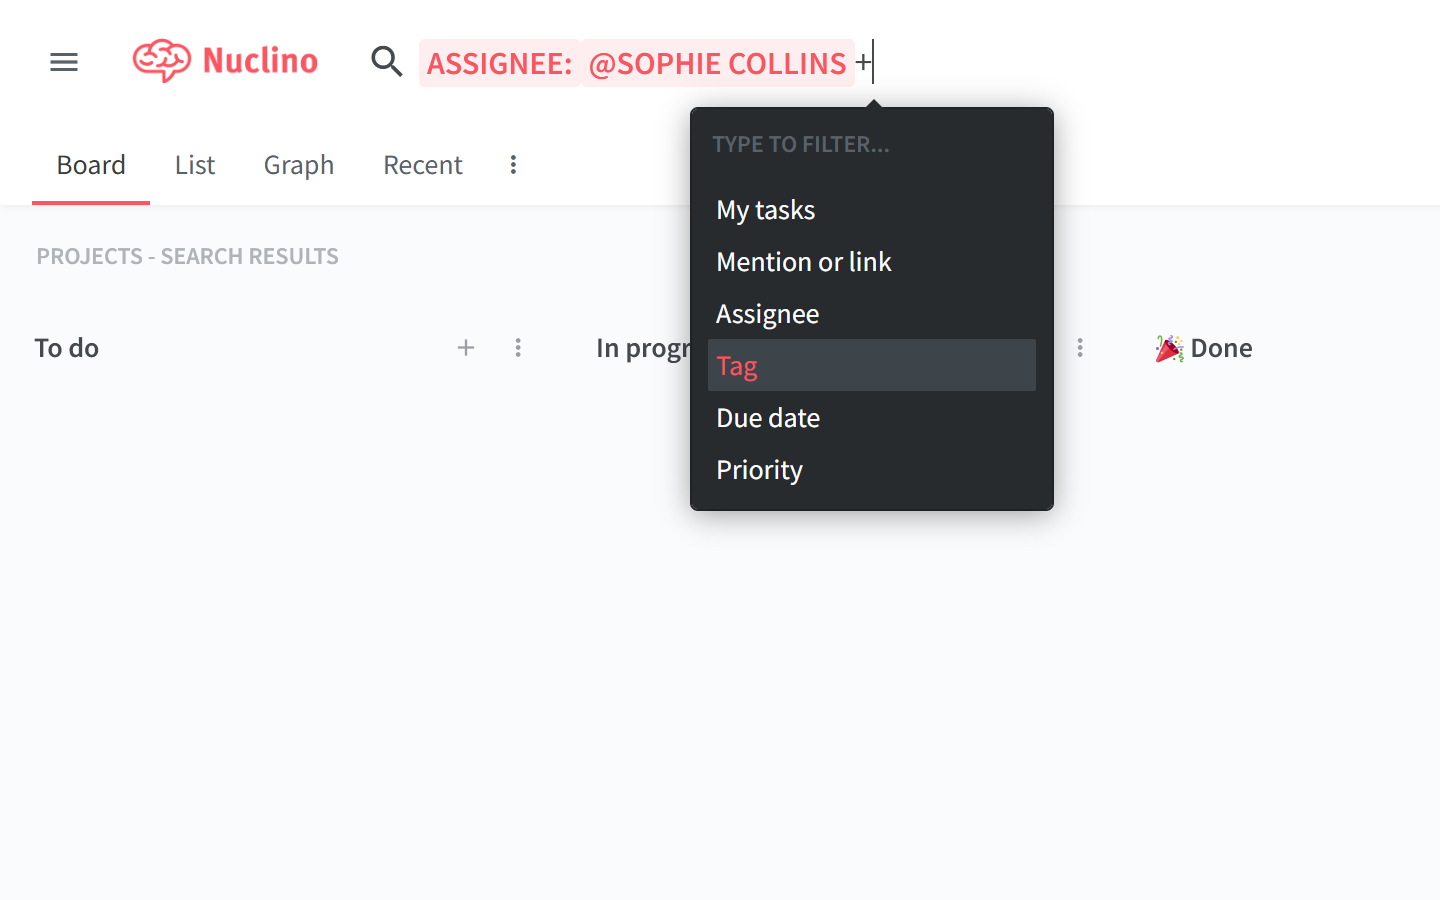
In the table view, you can also filter by field by clicking on the three dots ⋮ to the right of the respective field column title (or right-clicking it) and selecting Filter.
To sort by field
In the table view, you can sort your items in the ascending or descending order by any of the fields you have created. Click on the three dots ⋮ to the right of the respective field column title (or right-click it) and select Sort ascending or Sort descending.
