Use the table view
Who can use this feature?
🔐 Available to anyone.
⭐️ Available on all plans.
The table view is a great way to organize multiple items in a compact, manageable format. It's a great view for managing long lists of similar docs and tasks — sales leads, job descriptions, bug reports, blog posts, meeting notes, and so on.
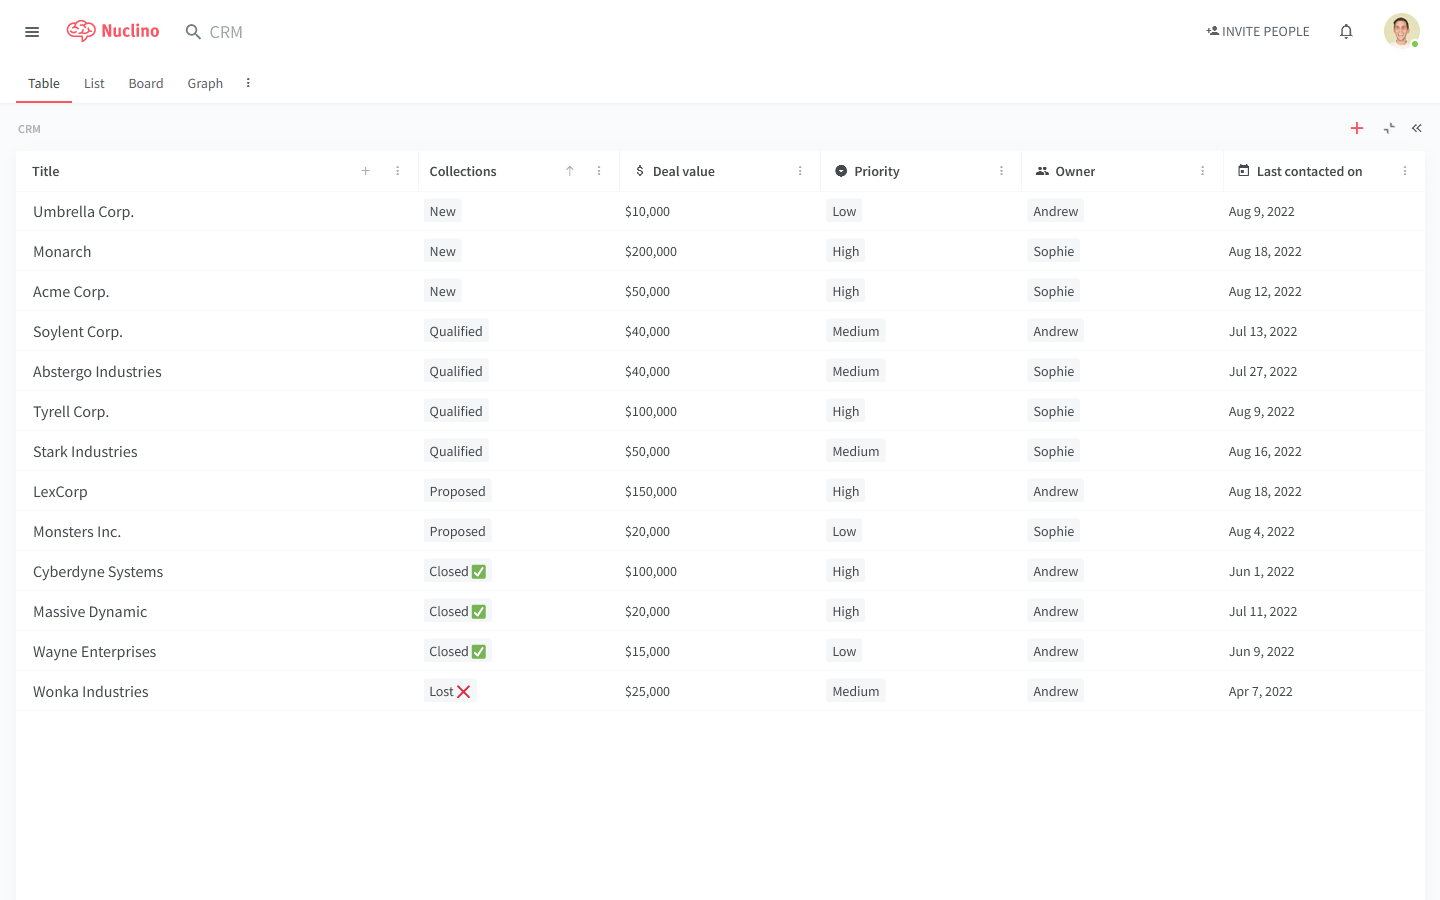
Table view basics
In the table view, the rows are made up of items — collaborative long-form documents, where you can add all kinds of content. The columns allow you to categorize and label your entries.
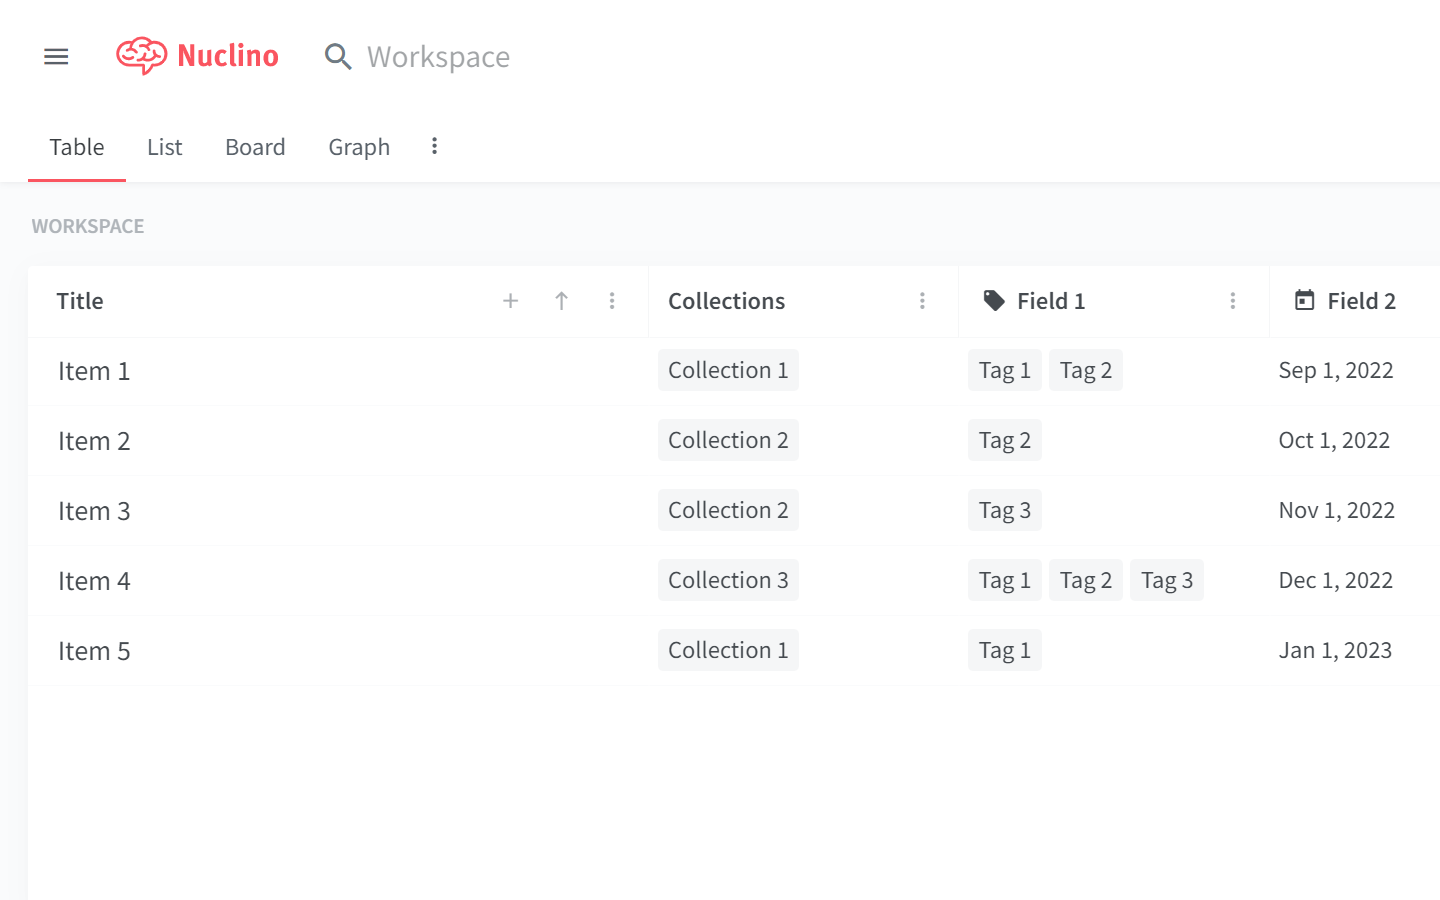
The second column of your table displays the collections, which help you group your docs and tasks.
The rest of your table is made up of fields. Fields allow you to track additional information about your docs and projects, like their status, priority, owner, and so on. You can create as many fields as you need, and every new field you create will add a new column to your table.
Filtering
You can filter your table so it only displays the items that meet specified criteria, for example, only the high-priority tasks, or only the leads that are assigned to you. Right-click any column header (or click on ⋮), select Filter, and choose the values that you'd like to apply as criteria.
Sorting
You can sort your table so that items are displayed based on properties appearing in ascending or descending order. For example, you can order them based on their priority, the time they were last edited, or alphabetically.
Make table the default view
Each workspace has a default view which opens automatically when you open the workspace. The default view applies to all members of the workspace.
To make table the default view, right-click the Table view tab and select Make default.
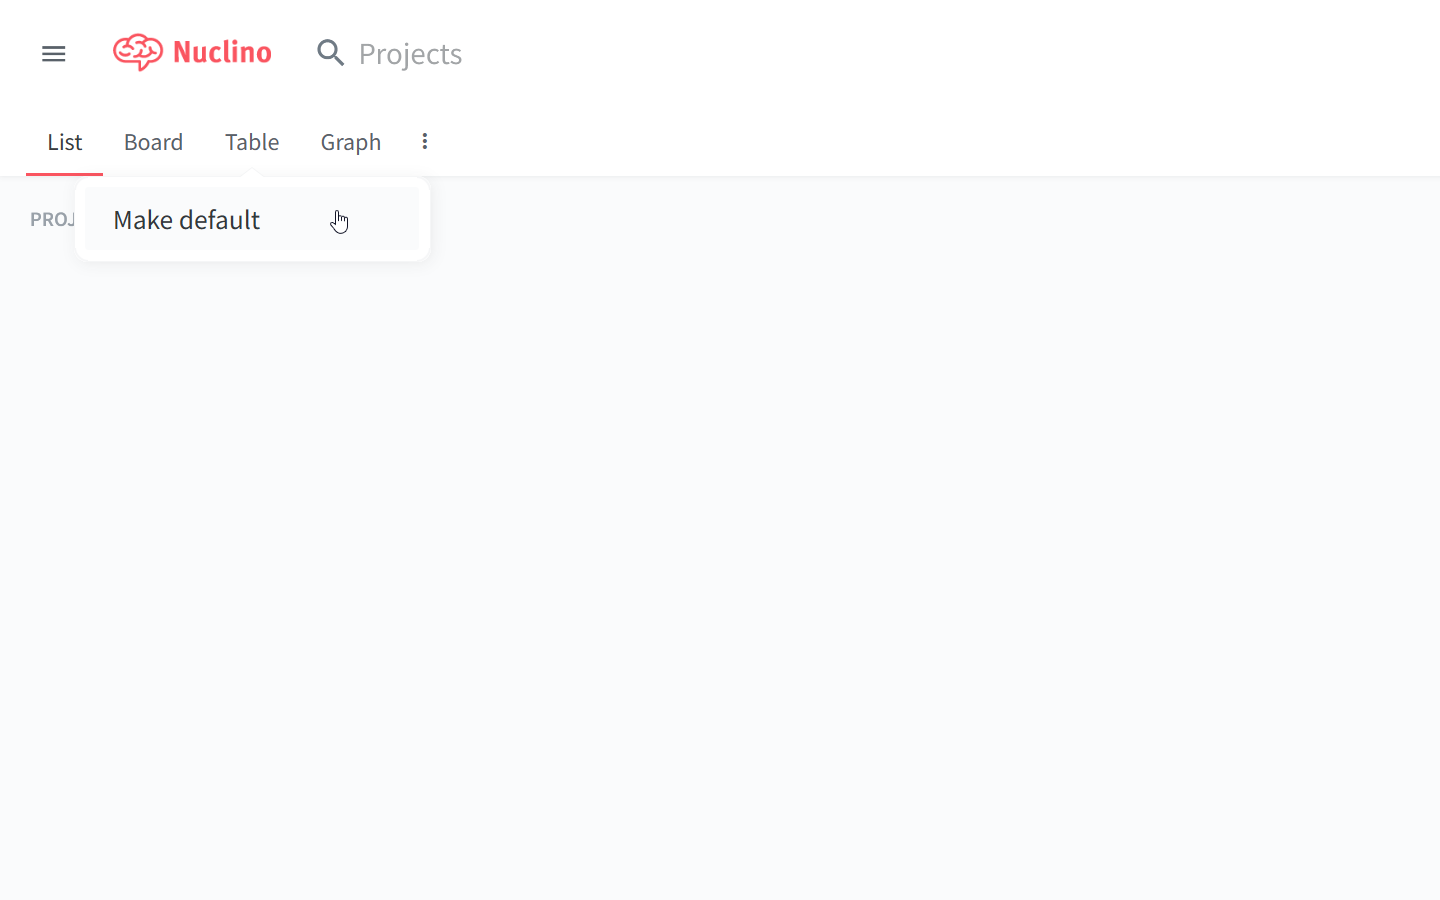
Table view templates and guides
The table view is a great choice for many use cases. Import one of our ready-to-use templates and customize it to fit your needs:
Follow our step-by-step tutorial to learn how to use the table view to organize data.