Sprint planning
Software development teams rely on sprints to help them keep pace with the rollout of new features and iterations.
In Nuclino, you can easily set up an agile workflow using a board where each team member can create new tasks, see which tasks they're assigned to, and monitor how things are progressing.
Step 1: Create a workspace
Let's start by creating a separate workspace for your team's sprint planning.
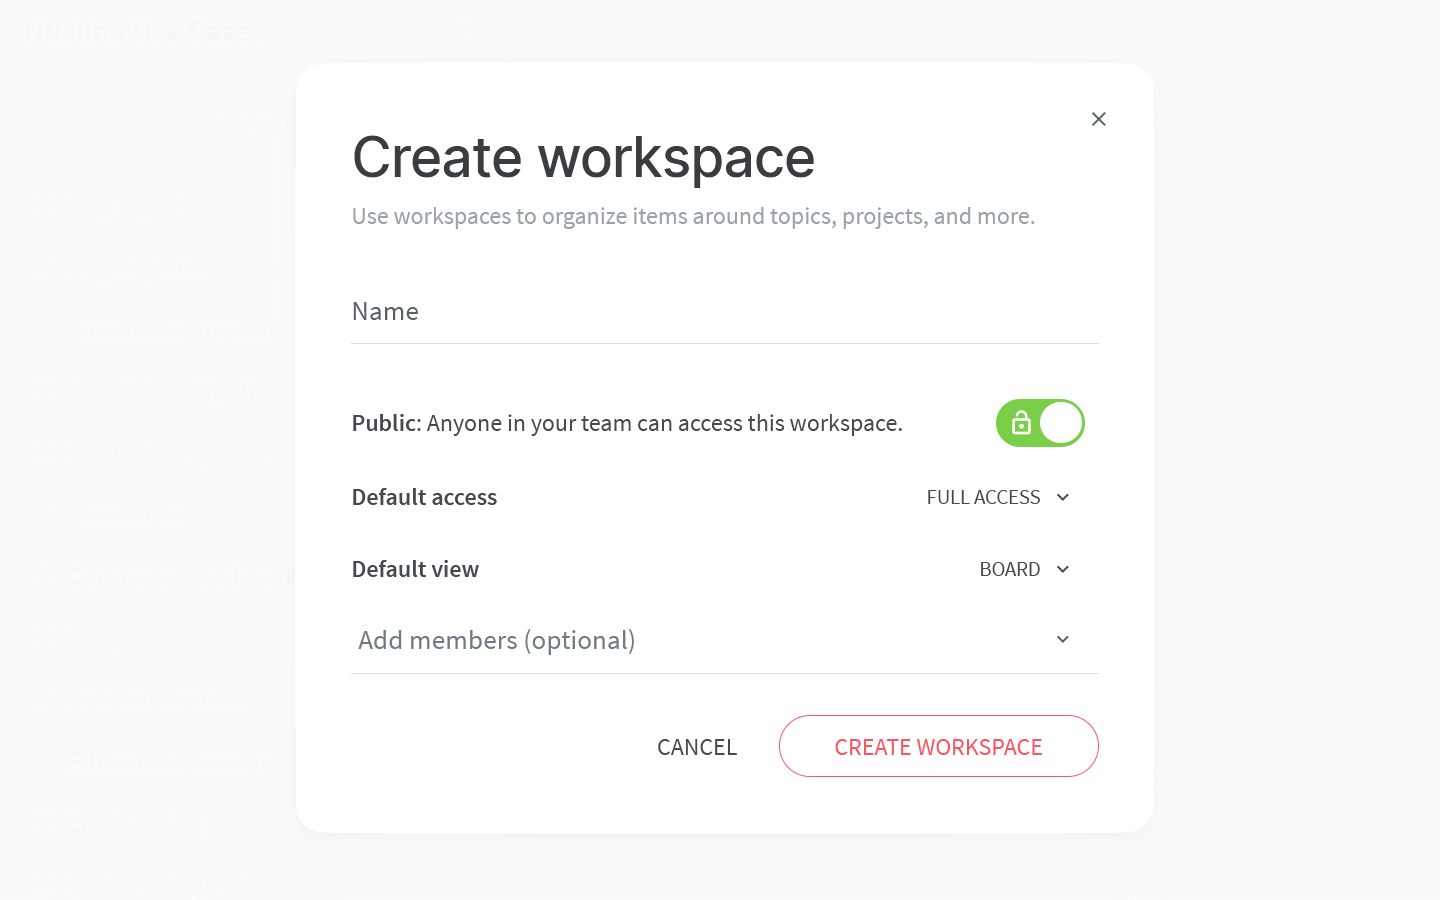
To set up your workspace, you will need to configure:
Privacy.
You can make your workspace public – visible and accessible to your whole team – or private, so that only you and invited members can see it. While your developers would be the ones collaborating in the workspace, your whole team may benefit from knowing what they are up to.
Access rights.
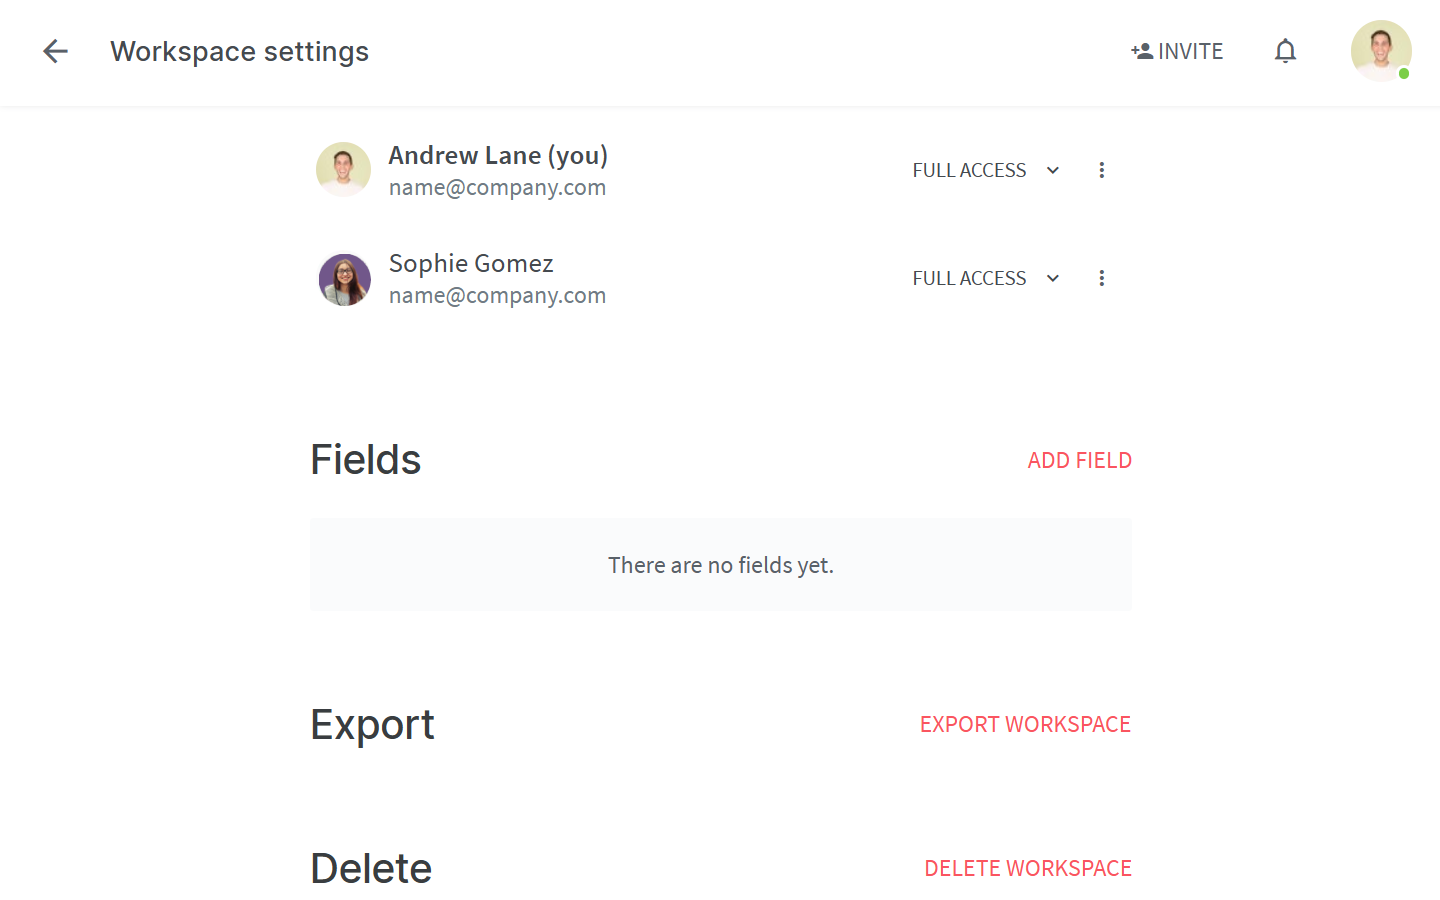
Sprint planning is all about collaboration – make your workspace full access and enable your workspace members to edit the content by default. If you want to give certain members comment-only or read-only rights, you can always do so in the workspace settings.
The default view of your workspace.
You have the choice between the list, board, table, and graph views. The board view is a great choice for planning a sprint since it lets you visualize different stages of each task.
Don't worry, you can always change it later!
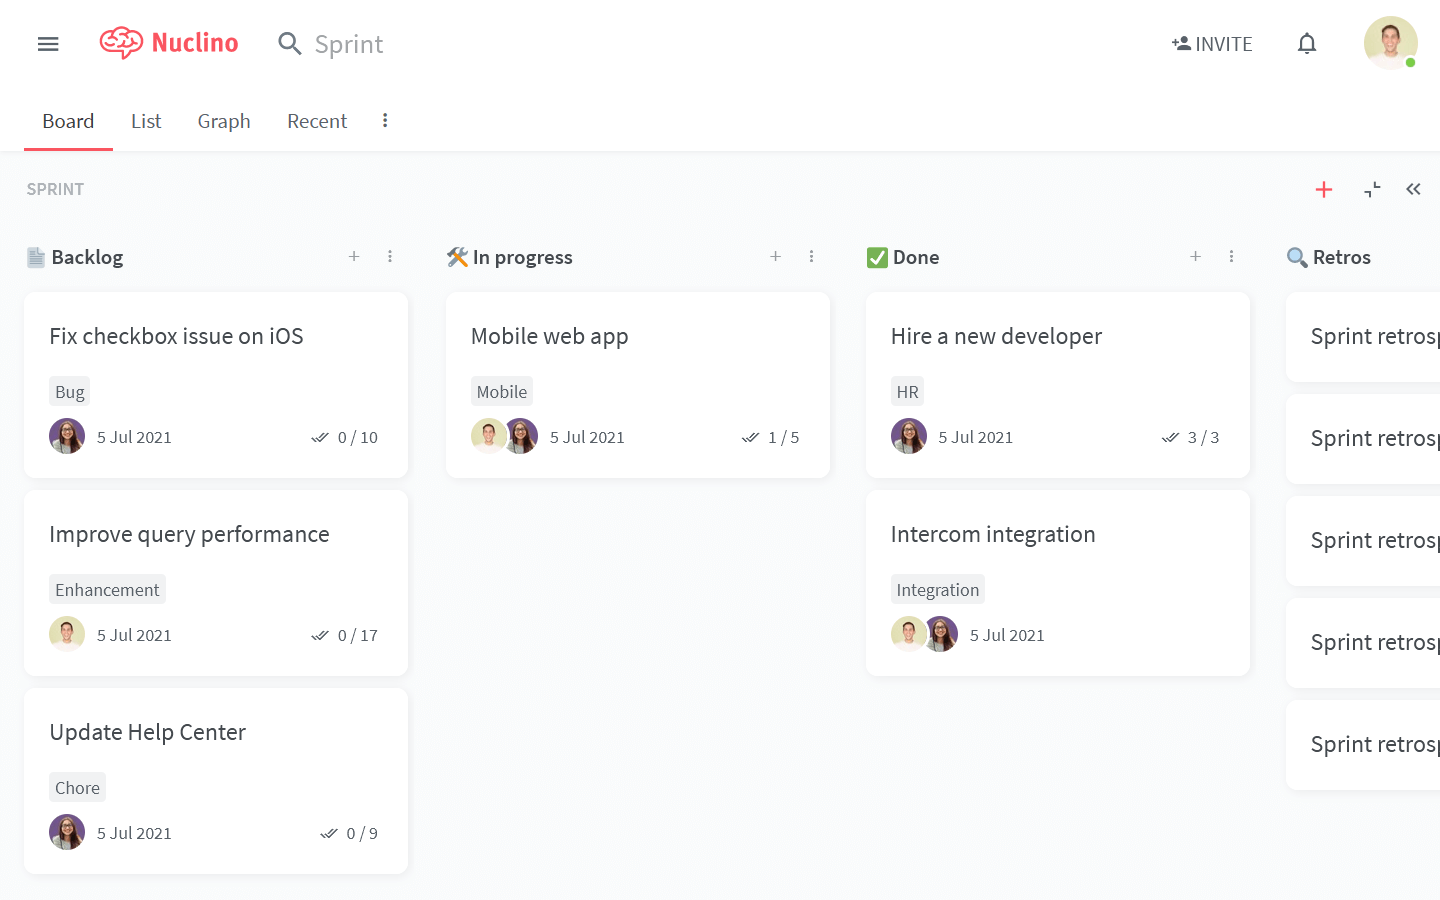
Step 2: Set up the sprint workflow
Content in Nuclino is made up of items (board cards) that are grouped in collections (board lists).
Get started by creating the collections that match your workflow, for example:
Backlog
In Progress
Blocked
Completed
Once the task or issue moves from one stage to the next, you can simply drag and drop it from one collection to another.

You can track additional information about each item in your sprint using fields. Fields can be created for labels, due dates, owners, priority, or anything else that’s important to your workflow. Fields can be configured in the workspace settings.
Step 3: Create and assign tasks
Add some clarity to everyone's responsibilities by adding them to their assigned issues.
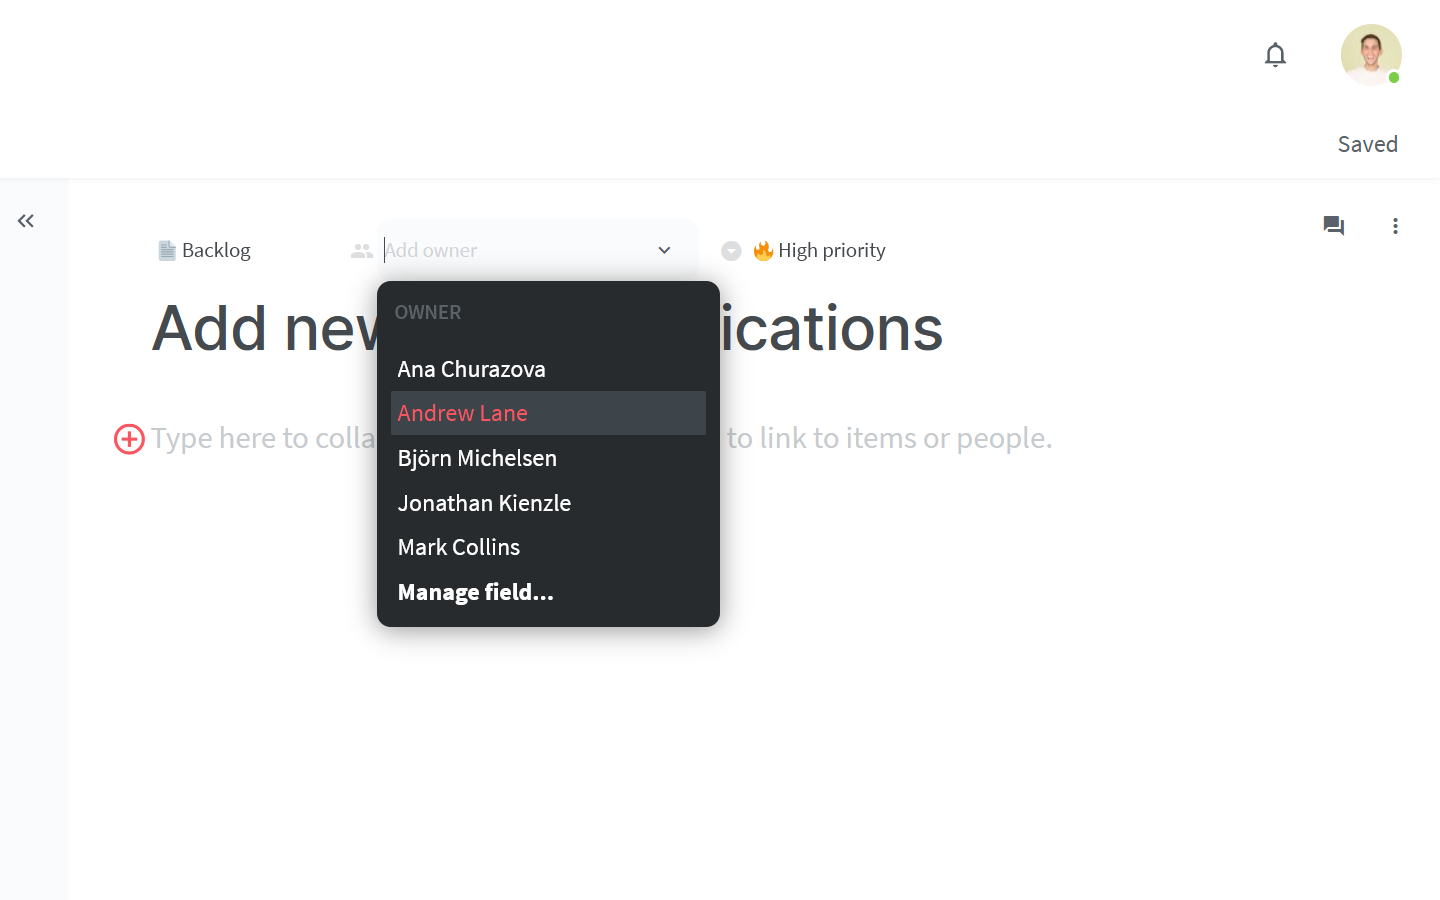
The assigned team member will receive an instant notification and their profile picture will appear on the item card. They will also be notified whenever another member leaves a comment in the item, so they will always be aware of the feedback the team may provide on his or her progress.
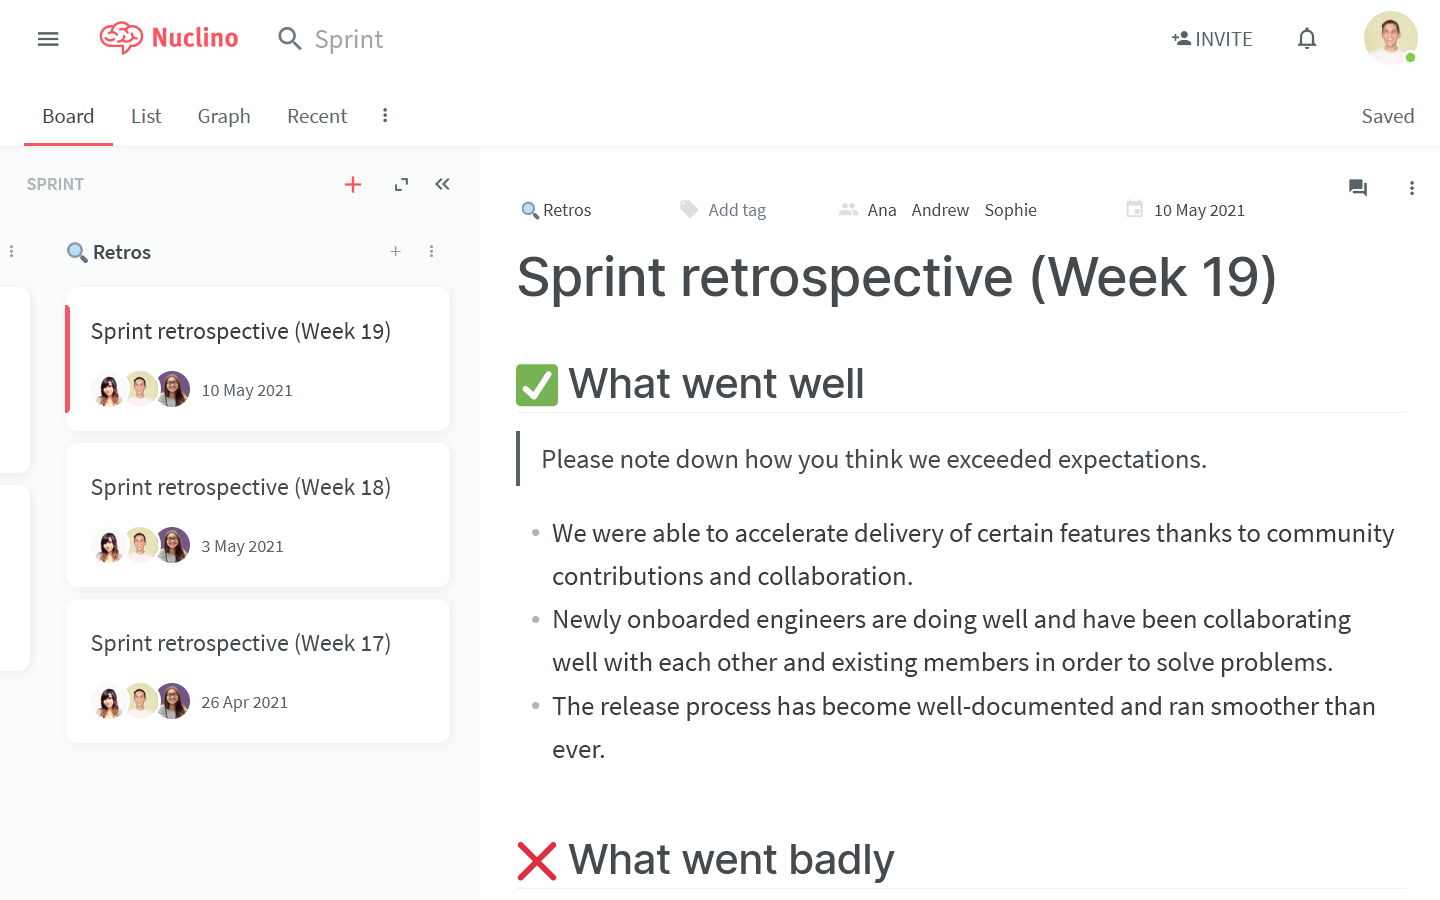
Step 4: Set up a space for sprint retrospectives
Retrospectives are a great way to celebrate what went well and identify the aspects that need improvement after each sprint.
You can create an additional collection to your board and add a new item to it after each sprint, summing up the lessons learned, addressing pending questions, and outlining the next steps.
💡 Nuclino Tips:
Create a template item for a sprint retrospective and duplicate it after each sprint so that you follow the same process every time and maintain a uniform log.
👏 You're all set!
Have questions or looking for more tips? Email us at contact@nuclino.com!