Customer support playbook
The support team is the face and voice of your company. In order to deliver the best customer experience possible, having a clear, up-to-date, and easily accessible support team playbook is paramount.
Here's how you can set up your support playbook in Nuclino in less than 5 minutes.

Step 1: Create a workspace
Let's start by setting up a workspace for your new support playbook.
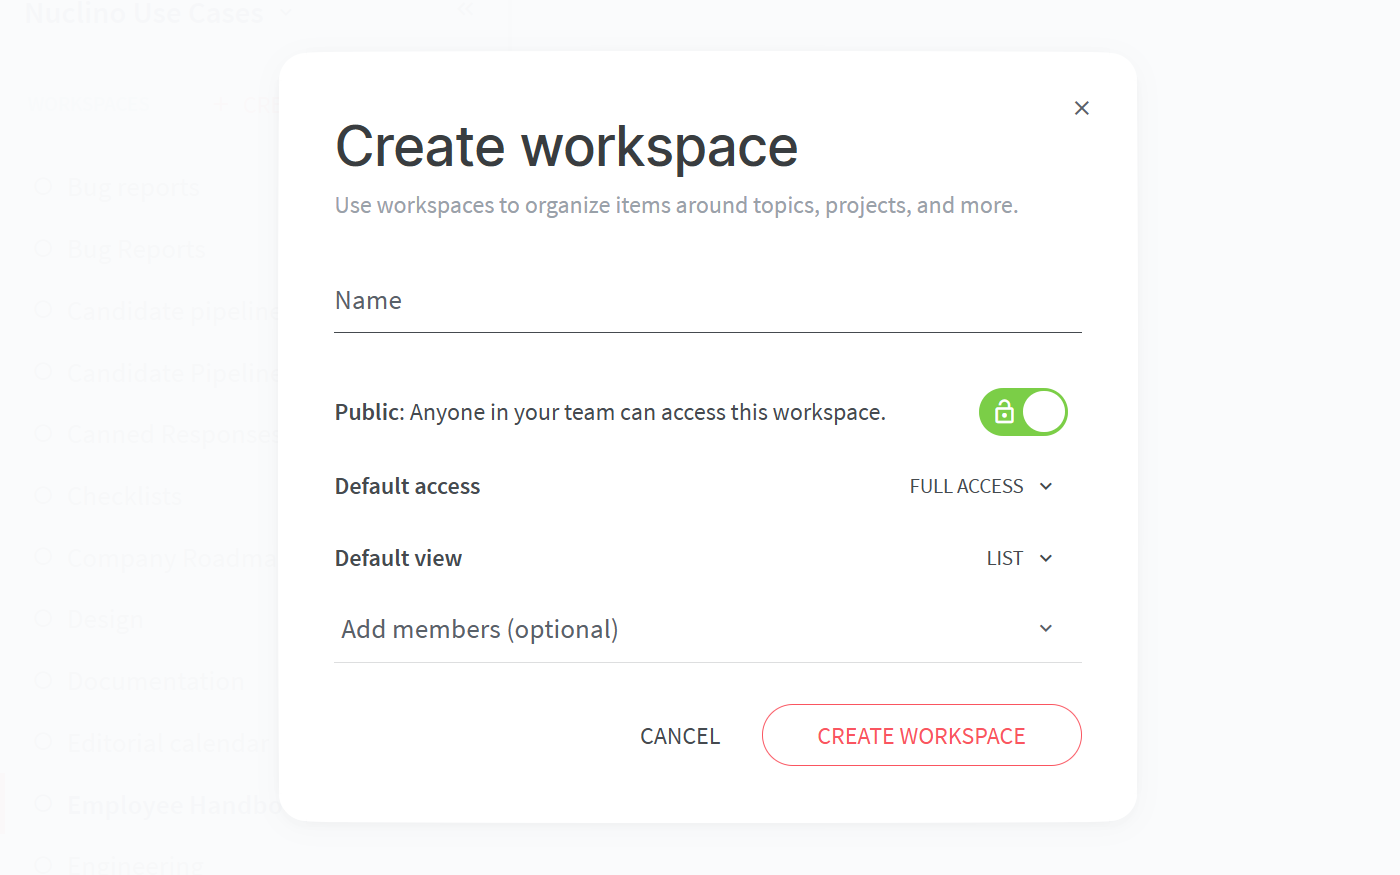
To set up your workspace, you will need to configure:
The default view of your workspace.
You have the choice between the list, board, table, and graph views. For a support playbook, having a clear structure is key, making the list view a great choice. Don't worry, you can always change it later!
Privacy.
You can make your workspace public – visible and accessible to your whole team – or private, so that only you and invited members can see it. A support playbook is most useful when it's shared with the whole team, so we recommend to make it public.
Access rights.
Can all your team members edit the content by default or should your playbook be comment-only or read-only? Once you add team members to this workspace, you'd be able to selectively assign the Editor, Commenter, and Reader roles to them, regardless of the default setting.
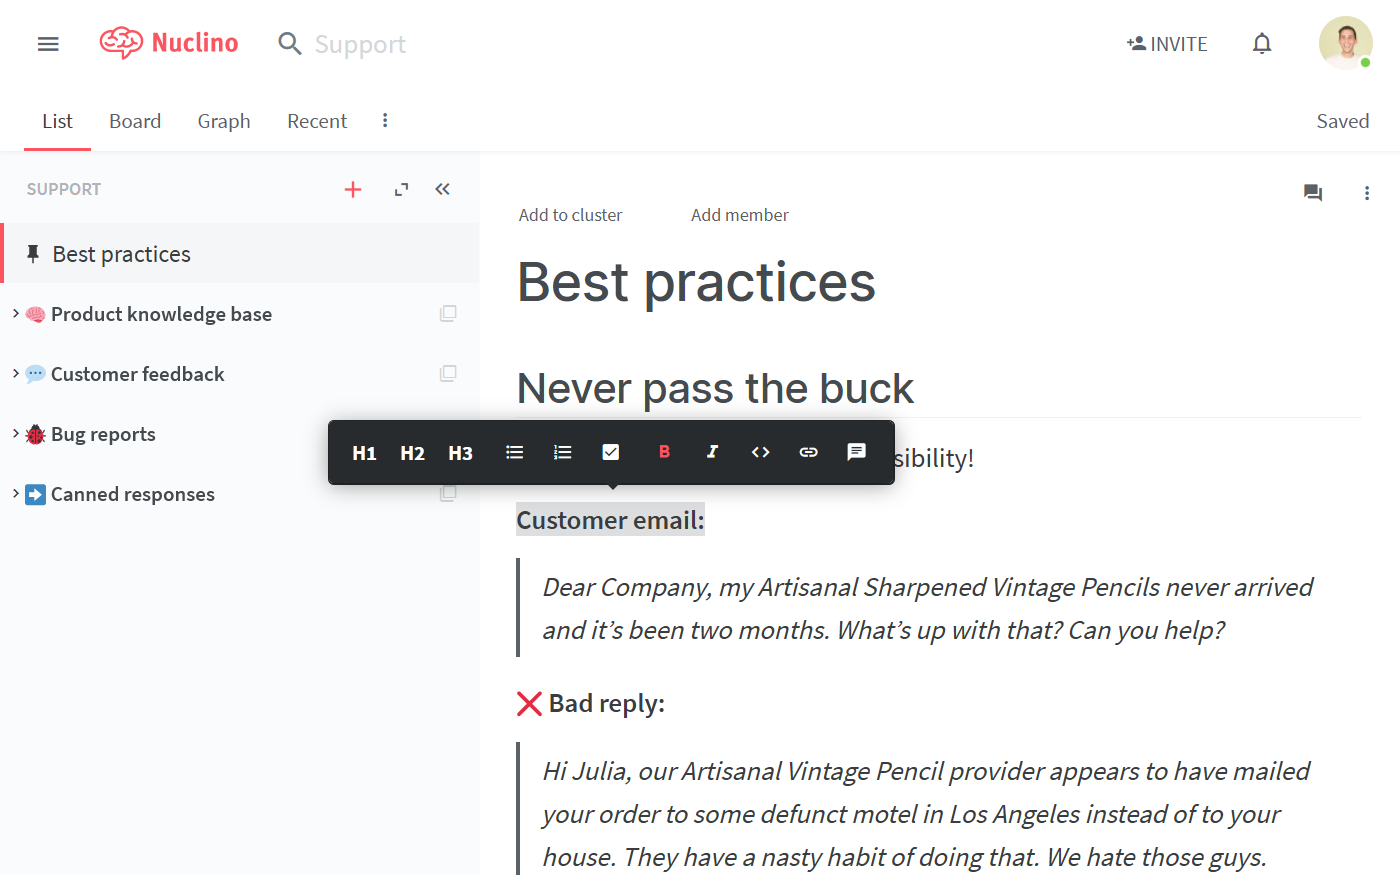
Step 2: Organize it into sections
Content in Nuclino is made up of items (think of them as docs or pages) that are grouped in collections (which act as tags or folders).
When deciding on the overall structure for your support playbook, separate the content that you plan to share with your team into broad categories – and create a collection for each.
For example, you may want to include some of the following sections:
Best practices
Customer feedback
Canned responses
Feature requests
Bug reports
Knowledge base
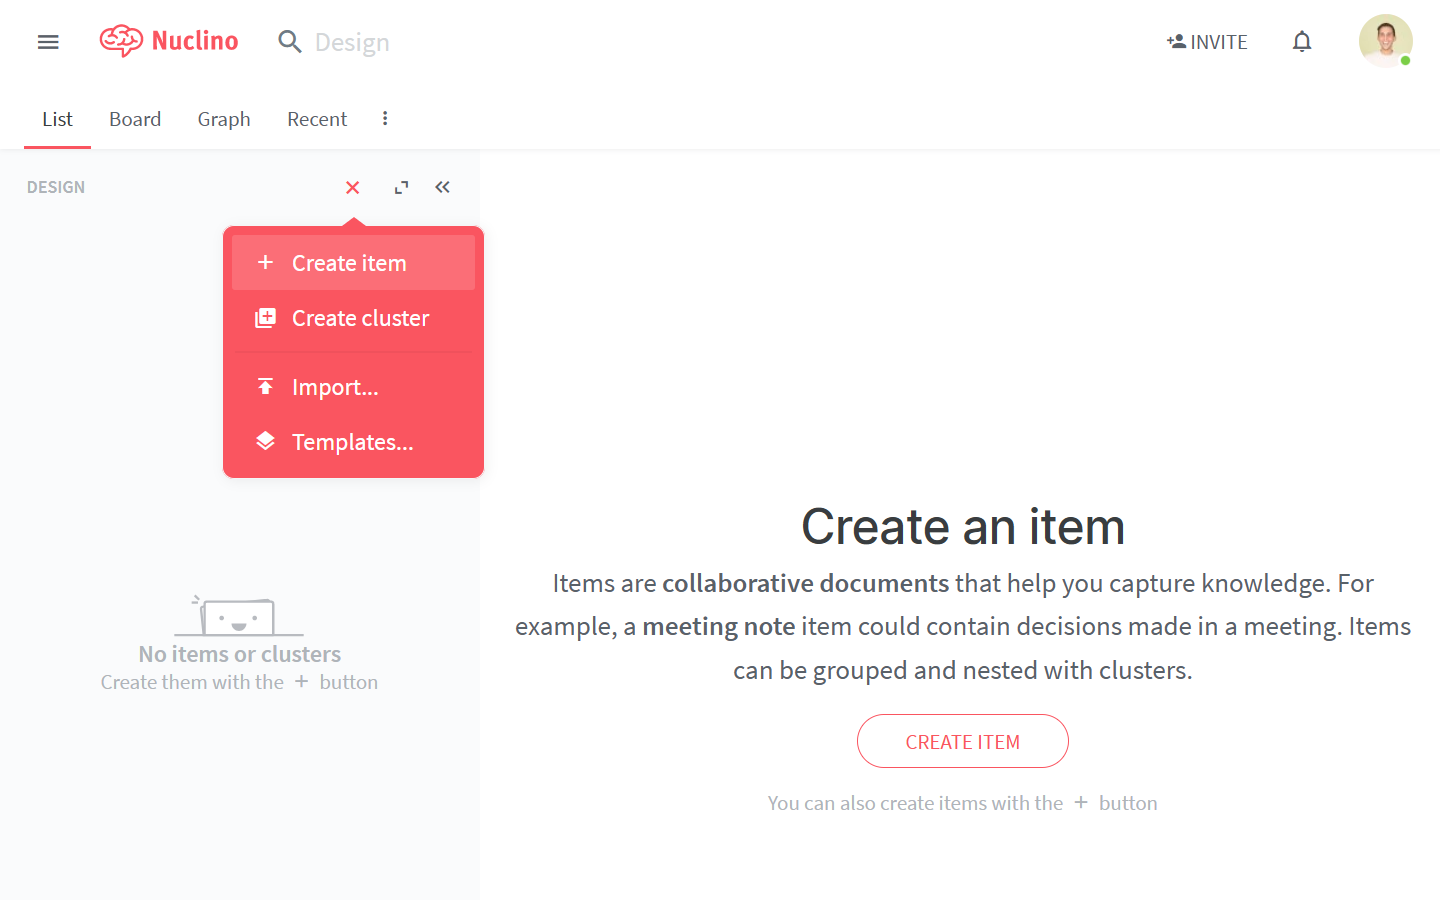
Step 3: Add content
Now that you have the core structure in place, time to populate your support playbook with content.
A Nuclino item can contain text, images, lists, tables and more – click the + button when you're on a new line in the editor or trigger a slash command / to get an entire list of the possibilities. When referencing different pages within your workspace, type @ to easily create an internal link.
You may also want to create an overview item to welcome your team members and give them some guidance on where to find what.
💡 Nuclino Tips:
Pin your overview item to the top to make it the first page every team member sees when they open the workspace.
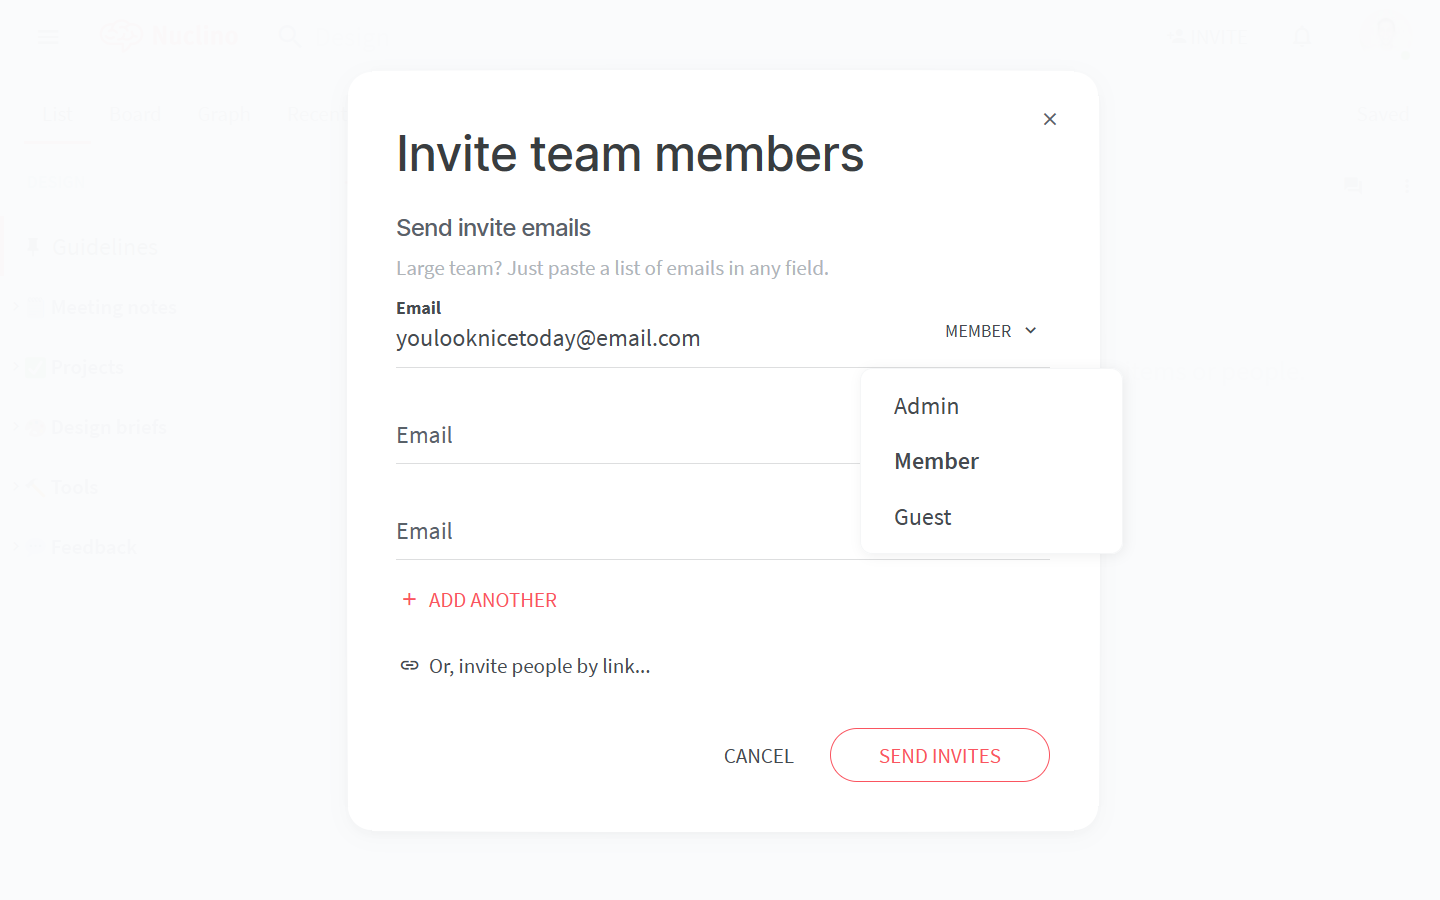
Step 4: Invite and onboard your team
Your support playbook is ready to be shared with your team!
If you haven't added any members to your Nuclino team yet, you can easily do that by clicking Invite People at the top right corner of the app and add the email addresses of your team members. Or better – create a shareable link and paste it in your team's Slack channel to save time.
If your team members are already using Nuclino, add them to the support playbook in the workspace settings.
💡 Nuclino Tips:
Instead of manually adding new team members every time, make it your default workspace. This way, every new member will be automatically added to the Support playbook workspace when they join your team in Nuclino.
👏 You're all set!
Have questions or looking for more tips? Email us at contact@nuclino.com!